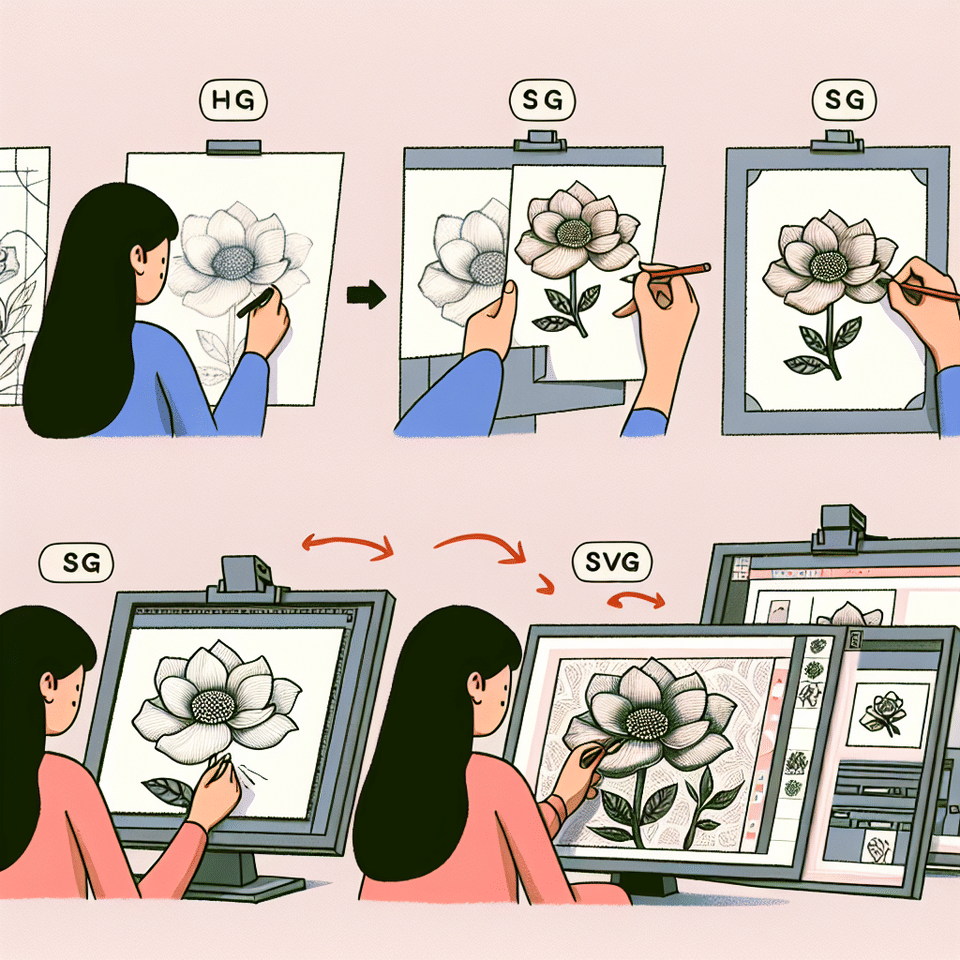

The transformative journey from a hand-drawn sketch to a digital masterpiece epitomizes the magic of modern design. For artists and designers yearning to bring their paper creations to life in the digital realm, SVG (Scalable Vector Graphics) offers a crisp, versatile format that's perfect for web use. In this guide, we'll explore the process of converting your hand-drawn art into SVG format, ensuring your designs are not only visually stunning but also web-ready.
The Basics of SVG for Hand-Drawn Art
Before diving into the conversion process, it's crucial to understand why SVG is the go-to choice for web-based illustrations. Unlike raster images that lose quality when scaled, SVGs maintain their clarity at any size, thanks to their vector nature. This is particularly beneficial for responsive web design, where your artwork must look impeccable across various devices. To get started with creating your own SVG files from scratch, this resource can be an invaluable tool.
Now that you grasp the significance of SVGs let's delve into the initial step of digitizing your artwork. The simplest method involves taking a high-resolution photo or scanning your drawing. Ensure that the contrast between the lines and background is strong; this will facilitate a smoother transition when using image tracing software later on.
Choosing the Right Tools for Digitization
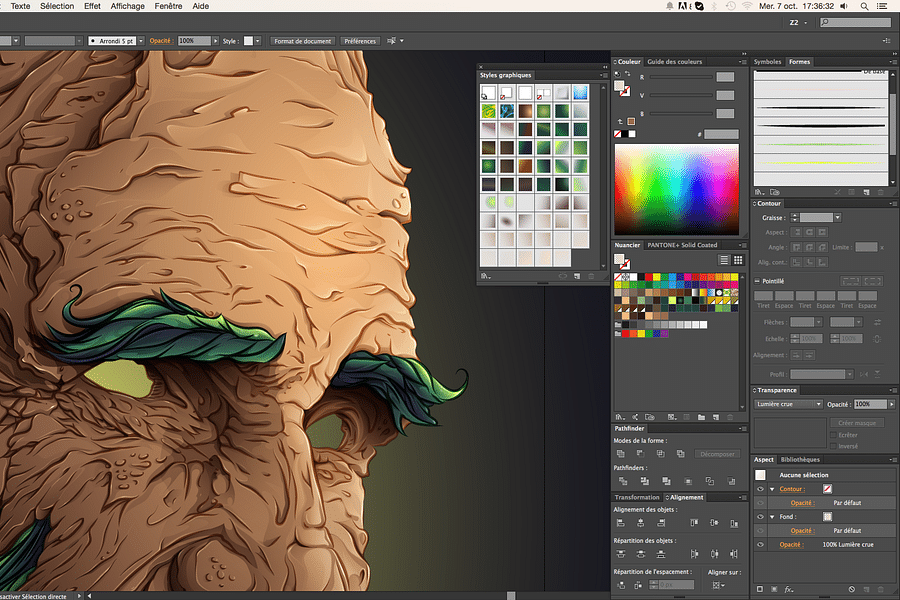
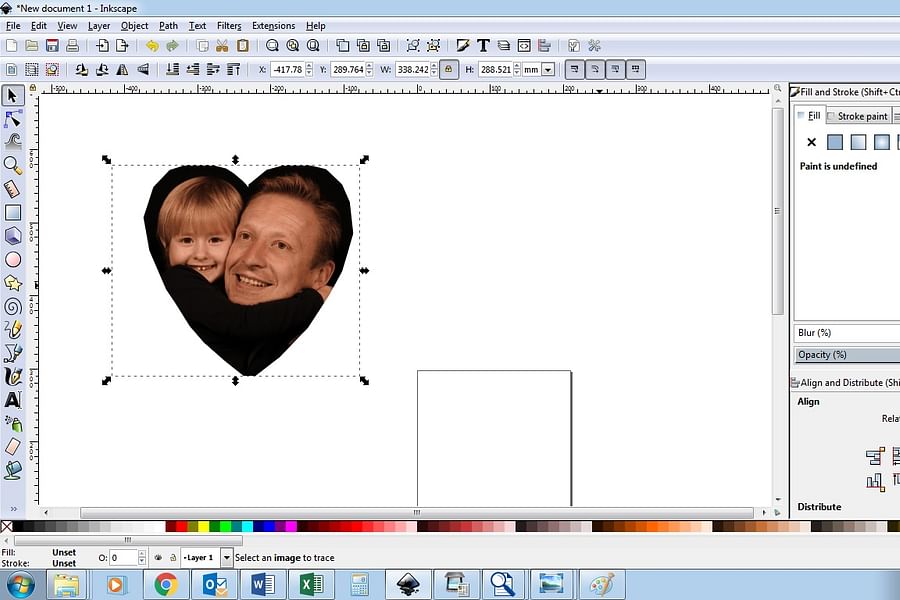
Selecting suitable software is pivotal in translating your hand-drawn lines into precise digital paths. Adobe Illustrator is a popular choice due to its robust Image Trace feature which can convert bitmap images into vector paths. However, there are also free alternatives like Inkscape that can yield impressive results without breaking the bank. Familiarize yourself with SVG editing techniques to make informed decisions about which tools will best serve your project.
Top SVG Converters
- Adobe Illustrator - The industry-standard vector graphics software, perfect for refining and converting hand-drawn sketches to high-quality SVG files.
- Inkscape - A free and open-source vector graphics editor that offers robust SVG integration and conversion capabilities.
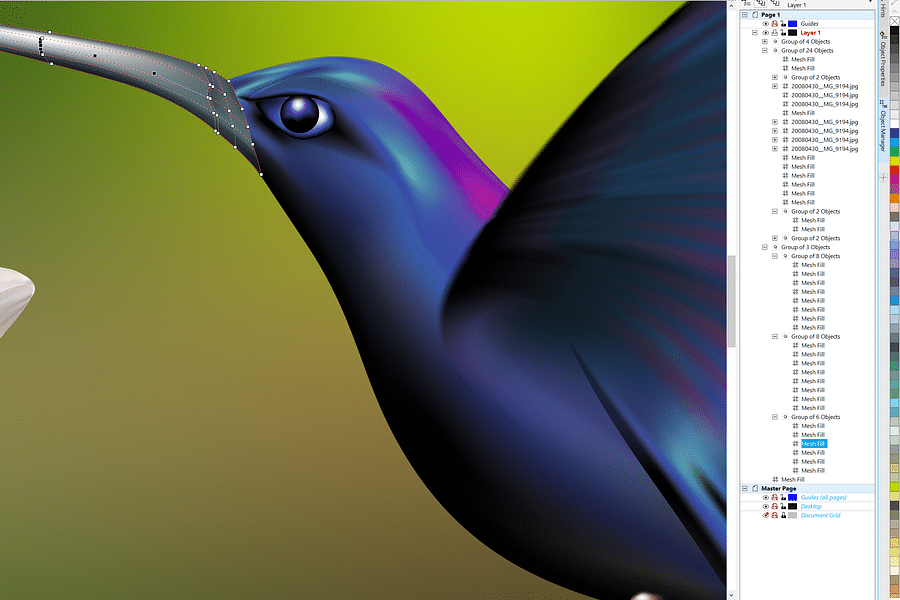
- CorelDRAW - A powerful graphic design tool offering precision and versatility for converting sketches to SVG format.
- Sketch - A vector-based design tool for macOS, ideal for digital design and converting artwork to SVG with ease.
- Affinity Designer - A professional graphic design app with excellent SVG export options, suitable for intricate designs.
- Vector Magic - An online tool specifically focused on the conversion of bitmap images to vector graphics, including SVG.
- Boxy SVG - A straightforward browser-based SVG editor that simplifies the process of turning sketches into SVG files.
- Gravit Designer - A cross-platform vector design application that provides a smooth transition from sketch to SVG.
After choosing your software, you'll need to fine-tune settings like threshold and path simplification to capture the essence of your sketch accurately. It's often a balancing act between preserving detail and creating a clean, simplified vector graphic that's easy to manipulate and animate if desired.
Cleaning Up and Refining Your Vector Graphic
Once you've converted your sketch into a vector format, it may require some cleanup to remove any unwanted artifacts or stray points that could have been introduced during tracing. This is where editing SVG files becomes an art form in itself—meticulously refining curves and eliminating excess nodes will ensure a professional outcome.
Polishing Your Vectors: A Step-by-Step Cleanup Guide


Cleaning up might also involve reworking some areas manually by adding or subtracting anchor points and adjusting Bezier handles for smoother curves. Remember, patience is key; each adjustment brings you closer to an optimized version of your original vision.
Optimizing Your SVG File for Web Use
The final step before uploading your creation to the web involves optimization—reducing file size while maintaining quality. This not only ensures faster load times but also improves user experience significantly—a critical aspect in today's fast-paced digital environment. Tools like SVGO or online platforms can strip unnecessary metadata, compress paths, and perform other optimizations automatically.
A well-optimized SVG file seamlessly integrates with HTML and CSS, offering endless possibilities—from simple logos to complex interactive animations (learn more about SVG animations here). By following these steps diligently and harnessing the power of SVG in web development, you'll ensure that your hand-drawn art not only transitions flawlessly into digital form but also stands out in its new interactive habitat.
In conclusion (for this part), transforming hand-drawn sketches into sharp, scalable SVG files opens up new horizons for creative expression on the web. Stay tuned as we delve deeper into advanced techniques that will elevate your skills even further in mastering this exciting conversion process!
Once you've digitized your hand-drawn artwork, the next step is refining your image and converting it into an SVG file. This process involves several key steps that will ensure your artwork retains its charm while being fully optimized for web use.Refining Your Digital Artwork
After scanning or photographing your hand-drawn art, you'll likely need to clean it up before conversion. This means removing any unintended smudges, correcting errors, and possibly enhancing lines for clarity. You can accomplish this using image editing software like Adobe Photoshop or GIMP. Be meticulous in this stage; the cleaner your bitmap image, the smoother the transition to SVG.
For a detailed walkthrough on editing and enhancing images prior to SVG conversion, check out our step-by-step tutorial.
Choosing the Right Conversion Tool
There are numerous tools available for converting bitmap images to SVG format. Some popular options include Adobe Illustrator's Image Trace feature and online converters like Vector Magic. Each tool has its strengths; for instance, Adobe Illustrator offers more control over the final output, while online converters provide a quick and user-friendly alternative.
To learn more about the different conversion tools and their features, take a look at our guide on mastering SVG editing.
Optimizing Your SVG File
Once converted, it's crucial to optimize your SVG file. Optimization involves reducing file size without compromising quality—essential for web performance. Tools like SVGO can remove unnecessary metadata, comments, and hidden elements that contribute to file bloat.
If you're looking to dive deeper into optimization techniques, explore our advanced tutorial on SVG applications.
[step_by_step_guide: How to optimize an SVG file step by step]With optimization complete, you're almost ready to integrate your artwork into a web page.
Incorporating SVG into Your Web Design
Your optimized SVG is now ready to be a part of an engaging web design. Using HTML5 and CSS3, you can embed your artwork directly into your web pages. For animation effects or interactivity, consider adding JavaScript or using a library like Snap.svg.
For those interested in creating interactive animations with their newly converted SVGs, our guide on creating interactive SVG animations is an invaluable resource.
The beauty of using SVG is its scalability without loss of quality—perfect for responsive designs that need to look sharp on all devices. Plus, with CSS styling, you can dynamically change colors and other properties without needing multiple image files.
Mastering SVG Embedding and Styling
Now that you've learned about turning hand-drawn art into SVG format, let's test your knowledge on how to properly embed and style these SVG files in your web projects.
If you ever find yourself stuck or in need of further guidance on embedding these files within your website's codebase, be sure to read through our comprehensive guide on the power of SVG in web development.
Showcasing Real-World Examples
To truly appreciate the potential of turning hand-drawn art into scalable digital formats like SVGs, let's take a look at some real-world examples where this technology shines.
Top SVG Art Sites
- Mailchimp - Showcasing whimsical hand-drawn illustrations that capture the brand's unique voice.

- Dropbox - Utilizing playful sketches to add a human touch to their digital interface.
- Google Doodles - Celebrating events with engaging, thematic hand-drawn art turned into interactive SVGs.
- Firebox - Incorporating quirky and original hand-drawn elements that enhance the shopping experience.
- Tattly - Featuring vibrant, hand-drawn temporary tattoo designs as SVGs for a fun and lively user experience.
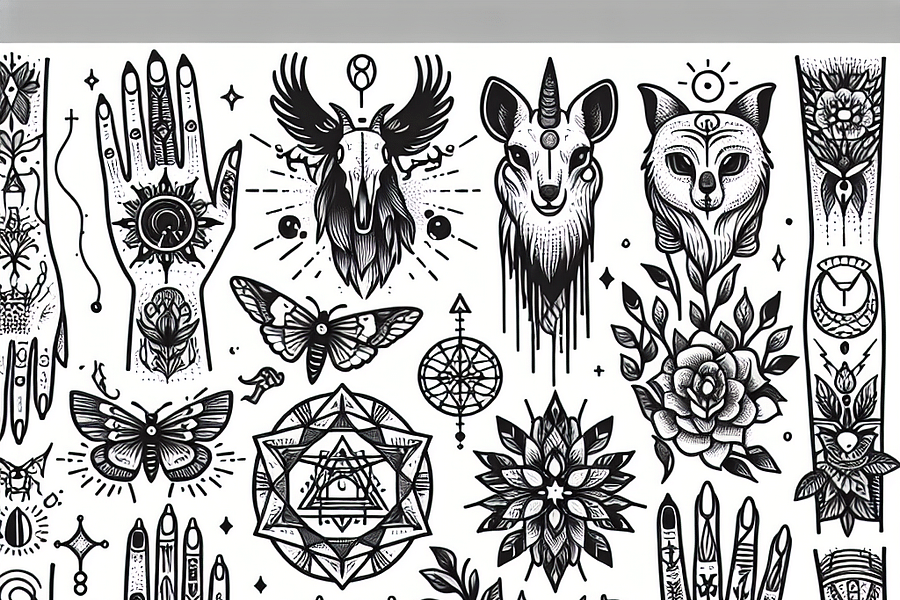
These examples illustrate how versatile and impactful hand-drawn artwork can be when transformed into digital format—adding personality and depth that resonates with users across various platforms.
Maintaining Artistic Integrity Throughout the Process
The journey from sketchpad to screen doesn't have to compromise the integrity of your original artwork. By carefully refining your scanned image, thoughtfully choosing conversion tools tailored to your needs, meticulously optimizing the resulting file, and skillfully incorporating it into your web design—you maintain control over every pixel of your creation.
The translation from physical medium to digital form is not just a technical process but also an artistic endeavor. It allows artists and designers alike to bring their unique visions directly onto the digital canvas where they can reach a wider audience than ever before.
The magic isn't just in creating art; it's in sharing it with the world in its most accessible form.
Your hand-drawn sketches hold untold potential—by converting them into scalable vector graphics (SVGs), they become timeless pieces ready for the ever-evolving digital landscape.

No comments yet. Be the first to share your thoughts!