
What makes NiceSVG different
NiceSVG is a modern approach to handling vector files that prioritizes clean code and universal compatibility. Unlike legacy tools that often bloat SVGs with unnecessary metadata or proprietary tags, NiceSVG focuses on lightweight, readable output that works seamlessly across design and development environments.
The core difference lies in simplicity. Whether you are working in Illustrator, Figma, or VS Code, NiceSVG ensures your files remain editable and efficient. This means smaller file sizes for faster load times and easier maintenance for developers who need to tweak paths or colors directly in the code.
Another key advantage is accessibility. NiceSVG supports commercial use and multi-use licensing for most assets, making it a safe choice for professional projects. You can copy and paste graphics directly into your projects without worrying about complex licensing restrictions or hidden costs, streamlining your workflow from concept to deployment.
Open your SVG file in any editor
You don’t need expensive software to start working with vector graphics. Because SVG files are essentially text-based XML documents, you can open them in almost any environment. Whether you are inspecting code, tweaking a design, or just viewing the final output, the right tool depends on what you need to do with the file.
For a quick preview, simply drag and drop your .svg file into any modern web browser like Chrome, Firefox, or Safari. This is the fastest way to verify that the vector renders correctly without any broken paths or missing assets. Browsers handle SVG natively, making this the best first step for validation.
If you need to tweak colors, paths, or attributes directly, a code editor like VS Code is ideal. Open the file to see the underlying XML structure. You can use extensions like SVG Viewer to see a live preview while you edit the code, ensuring that every change you make to the tags reflects immediately in the visual output.
For complex edits, drag the file into Figma or Adobe Illustrator. These tools interpret the vector data as editable shapes and layers. This is where you can modify anchor points, apply gradients, or combine paths. It is the preferred workflow for designers who need to reshape the graphic rather than just change its code.
Choosing the right tool depends on your goal. If you are a developer, the browser and code editor offer the most control over the raw data. If you are a designer, vector-native applications provide the visual interface needed for precise manipulation. Regardless of the tool, the file remains lightweight and scalable, which is why NiceSVG and similar standards are so popular for web workflows.
Edit paths and colors safely
Editing an SVG file is less like painting on a canvas and more like adjusting the strings on a guitar. If you pull too hard or cut the wrong string, the whole instrument goes out of tune. The goal is to modify the visual output without corrupting the underlying mathematical structure that defines the shapes.
Before you make any changes, always duplicate your SVG layer or create a backup copy of the original file. This simple step preserves the source vector data, allowing you to revert if a path adjustment breaks the design. Non-destructive editing ensures you can experiment freely with colors and shapes without losing the integrity of the original asset.
Change colors without breaking structure
Colors in SVGs are defined by attributes like fill and stroke. You can change these directly in the code or through a visual interface in tools like Figma or Adobe Illustrator. When editing in code, look for hex codes (e.g., #FF5733) or named colors. Changing these values updates the visual appearance instantly, provided the path structure remains intact. Avoid manually typing complex path data unless you are certain of the coordinate system.
Resize paths proportionally
Resizing an SVG is one of its greatest advantages over raster images like PNG or JPG. Because SVGs are vector-based, you can scale them up or down infinitely without losing quality. In most editors, use the transform tools to adjust the width and height while maintaining the aspect ratio. This ensures the shape doesn't stretch or distort. If you need to resize individual elements within a group, ensure the bounding box is locked to preserve proportions.
Adjust nodes with precision
Paths are made of nodes and anchor points. Moving a node changes the shape of the path. Use the direct selection tool in Illustrator or the equivalent in VS Code extensions to click and drag specific points. Be careful not to add unnecessary nodes, as this can bloat the file size and make the SVG harder to manage. Keep paths clean and minimal. If you need to smooth a curve, use the anchor point tools to convert sharp corners into smooth curves.
Verify your edits
After making changes, preview the SVG in a browser or a design tool to ensure it renders correctly. Check for any visual glitches, missing colors, or distorted shapes. If you edited the code directly, validate the XML structure to ensure there are no syntax errors. This final check ensures your edited SVG is ready for use in your project.
Convert SVG to PNG or PDF
When you need to share your NiceSVG designs with tools that don't support vector code, or when you need a print-ready document, exporting to PNG or PDF is the standard solution. PNG preserves transparency for web graphics, while PDF ensures your artwork stays crisp for print materials. Since NiceSVG files are free and built for commercial use, getting them into these formats keeps your workflow flexible across platforms like Illustrator, Figma, or VS Code.
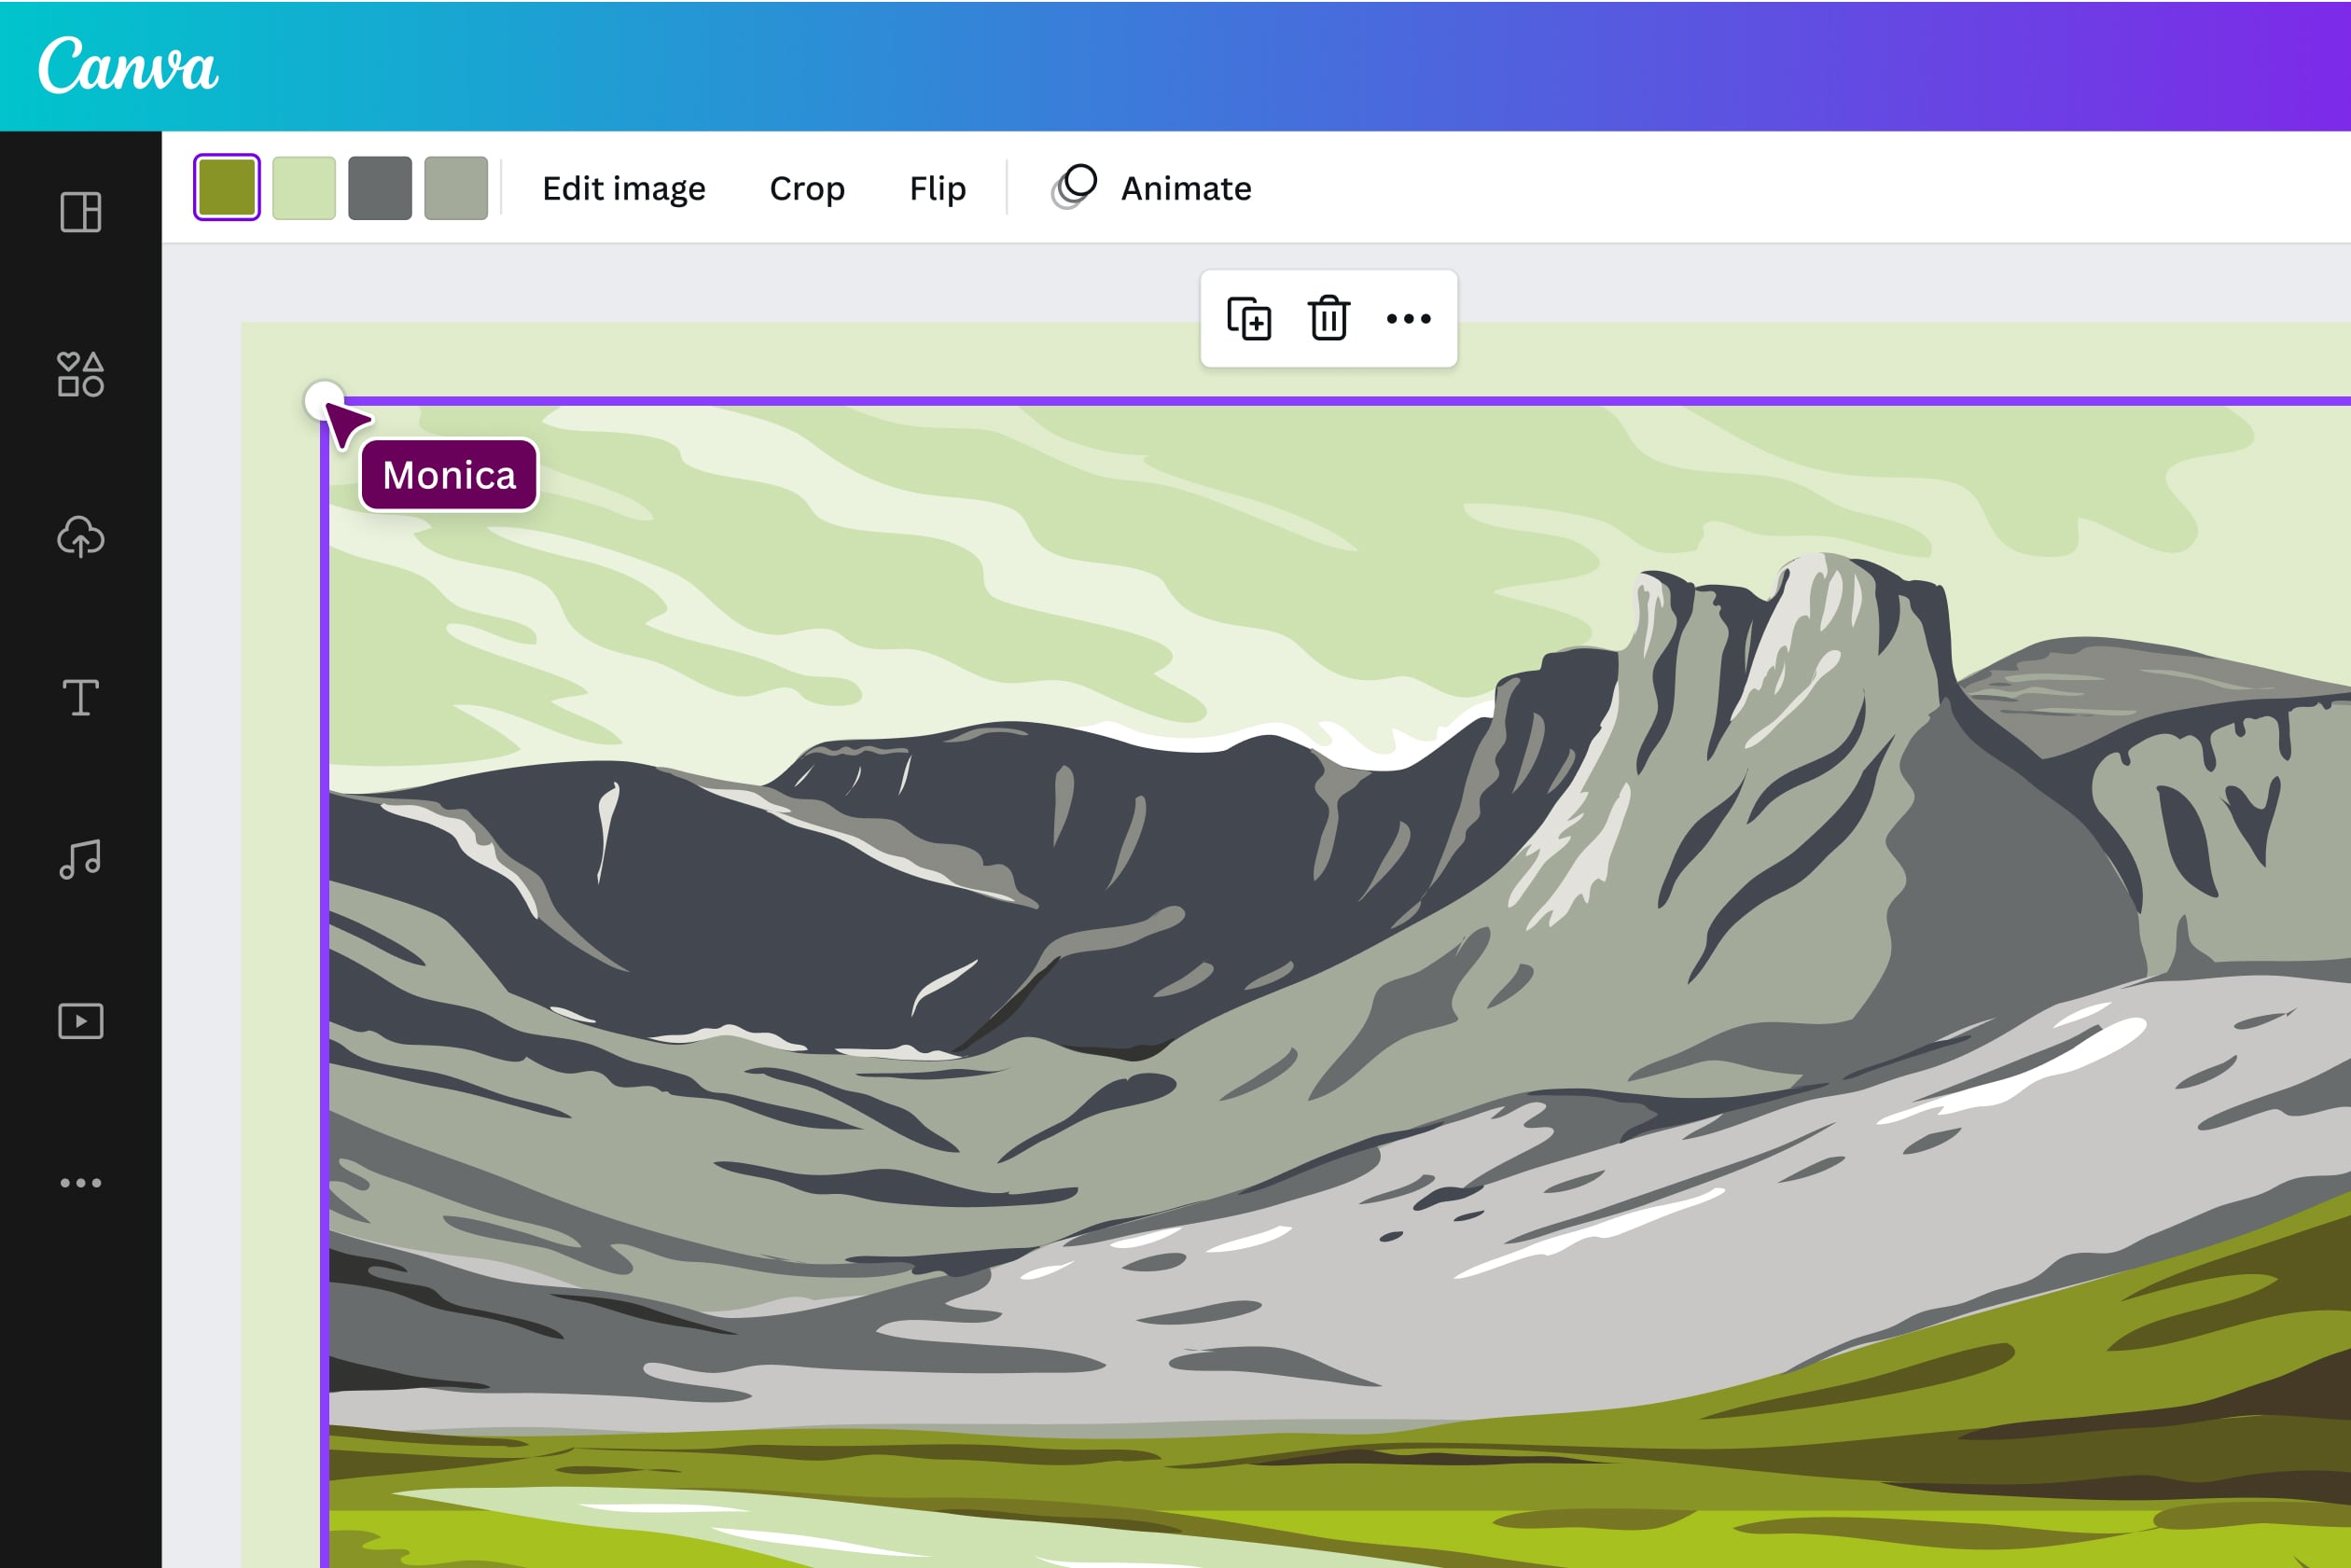
Before exporting, ensure your artwork is grouped and aligned correctly. If you are exporting to PNG, check your canvas background. To keep transparency, leave the background layer empty or delete it. For PDF exports, ensure all text is converted to outlines if you want to prevent font substitution issues during printing.
Select your design layer and choose Export or Save As. Pick PNG as the format. For web use, a resolution of 72-150 DPI is usually sufficient, but for high-DPI displays, choose 2x or 3x scale. This keeps your NiceSVG graphics sharp on mobile screens without inflating file size unnecessarily.
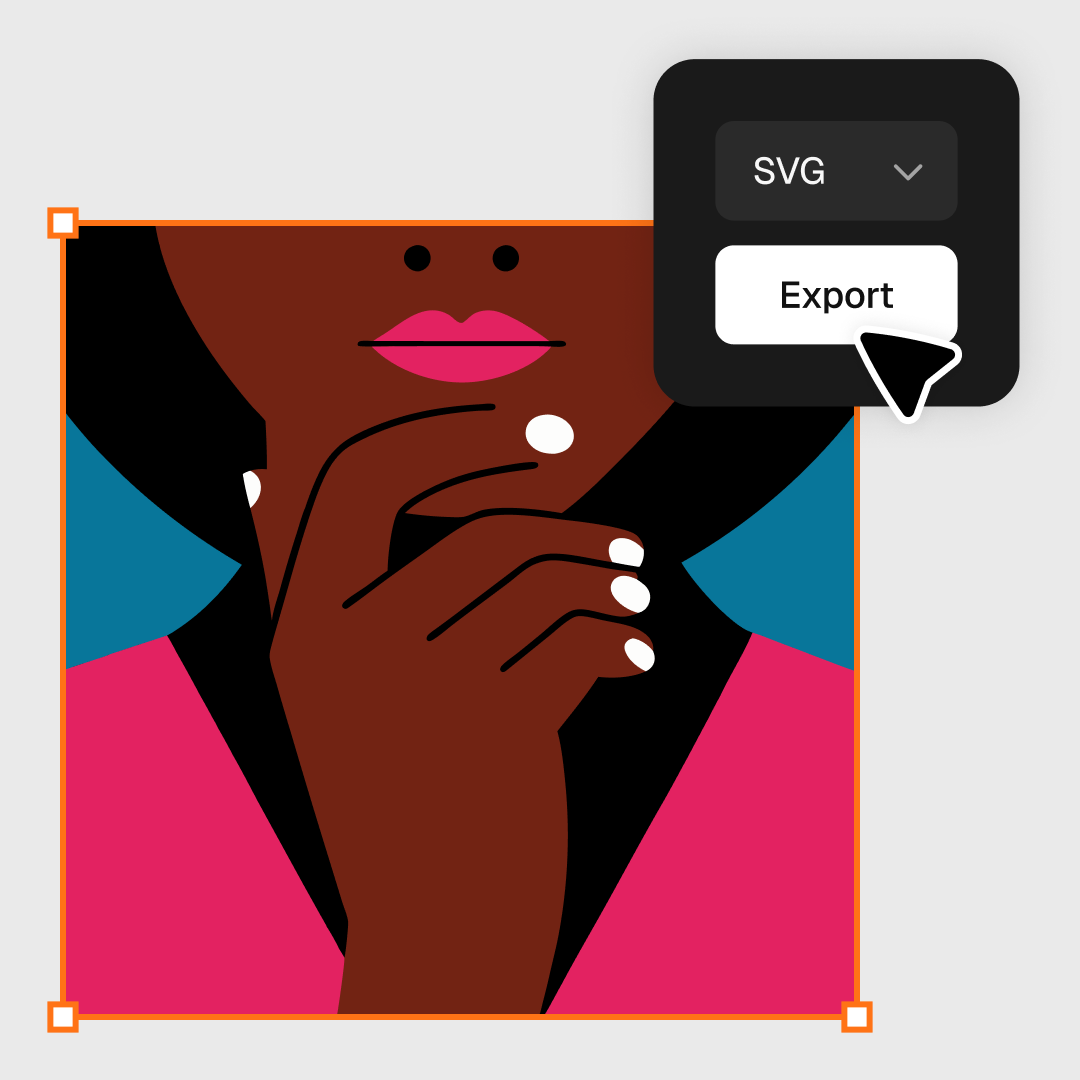
Choose PDF for documents or print jobs. In the export dialog, look for "Preserve Editability" or "Embed Fonts" options. Embedding fonts ensures your design looks identical on any computer. If you are sending files to a professional printer, select "High Quality Print" to maintain vector precision within the PDF container.
Open your exported file to check for artifacts or missing elements. PNGs should have clean edges if transparency was preserved. PDFs should be readable and scalable. Once verified, save the file in a dedicated project folder to keep your original NiceSVG source files safe for future edits.
Fix common SVG errors
Even with NiceSVG’s robust export tools, you may encounter issues when opening files in other editors. Broken links, missing fonts, and oversized files are the most frequent hurdles, but they are easy to resolve.
Broken external links
SVGs often reference external resources like images or stylesheets. If an image doesn’t load, the link is likely broken or relative. Open the file in VS Code or your code editor and search for href or url() tags. Ensure paths are absolute or correctly relative to the file location. For complex assets, consider embedding the image data directly using base64 encoding to make the file self-contained.
Missing fonts
If text appears as boxes or default fonts, the original font files are missing. Open the SVG in Illustrator or Figma and check the character properties. You can either install the missing font on your system or convert the text to outlines (paths). Converting to paths ensures the text looks identical on any device, though it becomes uneditable as text.
Oversized files
Large SVG files can slow down web performance. This often happens due to unnecessary metadata, embedded raster images, or redundant code. Use NiceSVG’s built-in optimization features to strip unused attributes and compress paths. For manual cleanup, tools like SVGO can minify the code significantly. Aim for a file size under 50KB for icons and under 200KB for complex illustrations to ensure fast loading times.
Where to find free NiceSVG assets
Finding high-quality, commercially safe vector files is the first step in a smooth NiceSVG workflow. Whether you are building a UI in Figma or preparing cut files for a Silhouette, starting with clean code saves hours of cleanup. The repositories below offer free SVGs that are ready for immediate editing and integration.
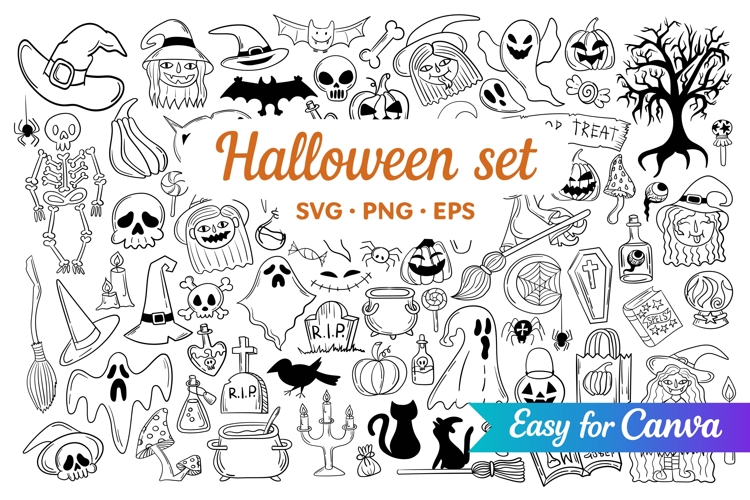
Top free SVG repositories
-
SVG Repo
A massive database of over 500,000 vectors. It is ideal for finding generic icons and illustrations, with clear filters for commercial use and mono/multi-color variants. -
Creative Fabrica Freebies
The go-to source for craft-focused designs. If you need intricate cut files for Cricut or Silhouette, this section offers high-quality vector art specifically formatted for those tools. -
Flowbite Icons
Perfect for developers using Tailwind CSS. This collection provides 751 open-source icons that are code-ready, supporting React (JSX) and Figma for seamless digital integration.
Frequently asked: what to check next
Can I edit SVG files in Figma or Illustrator?
Yes. NiceSVG files are fully compatible with industry standards like Figma and Adobe Illustrator. You can open them directly to adjust paths, change colors, or modify typography. Because the format is vector-based, your edits remain crisp at any scale, making it easy to tailor assets for specific projects without losing quality.
Are NiceSVG files free for commercial use?
Most NiceSVG resources are licensed for commercial use, but you should always check the specific license attached to each file. While many icons and vectors are free to use in client work or products, some may require attribution or have restrictions on resale. Always verify the terms before deploying assets in a commercial campaign.
How do I reduce SVG file size?
Large SVG files can slow down your website or app. To optimize them, remove unused layers, simplify complex paths, and strip unnecessary metadata. Tools like SVGO or online compressors can shrink the file size significantly without affecting visual quality. Keeping files lean ensures faster load times and a better user experience.
What is the difference between SVG and PNG?
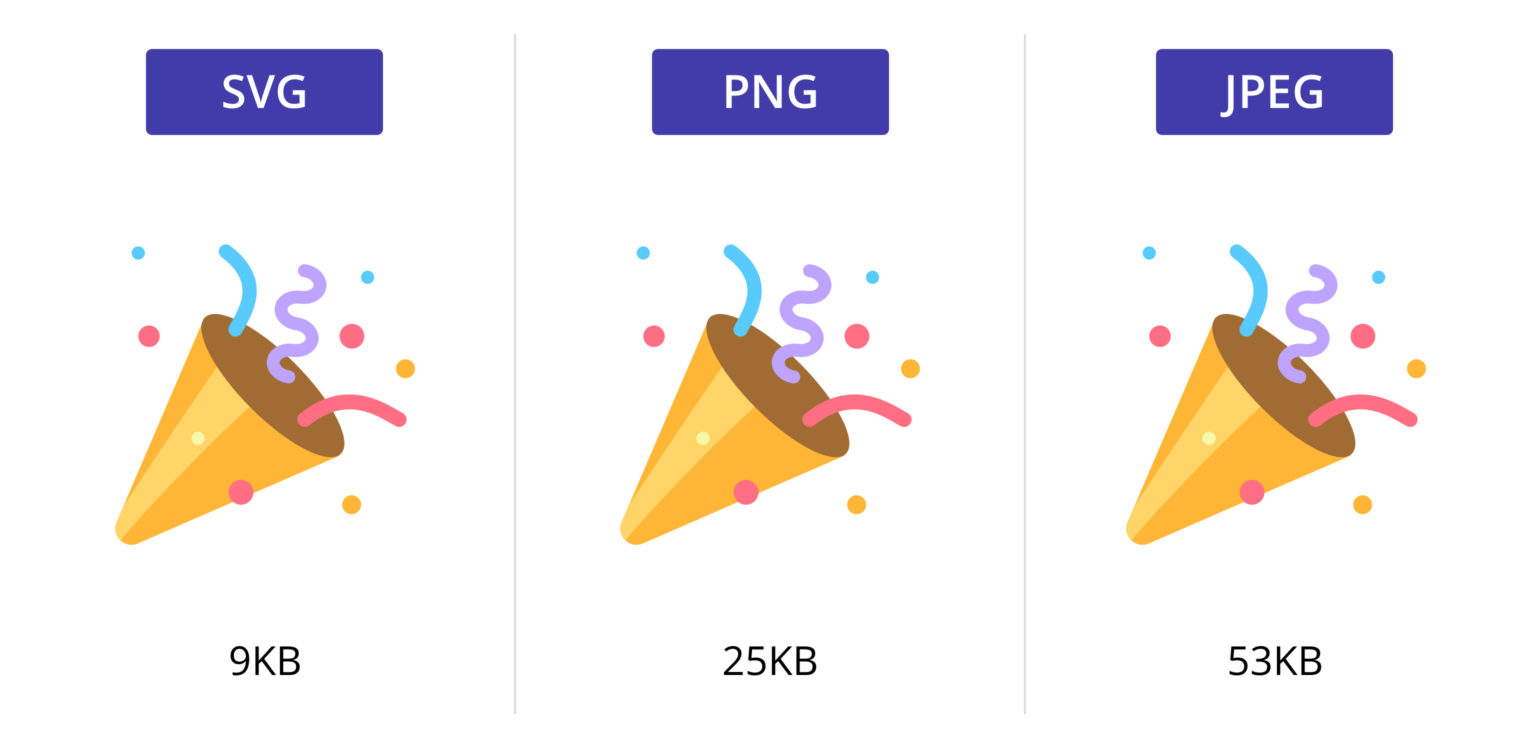
SVG is vector-based, meaning it scales infinitely without pixelation, while PNG is raster-based and loses quality when enlarged. Use SVG for logos, icons, and simple graphics where clarity matters. Use PNG for complex photographs or images with transparency that rely on pixel data. NiceSVG workflows prioritize the flexibility of vectors for most design tasks.
No comments yet. Be the first to share your thoughts!