
Start with a clean SVG file
The quality of your final design depends entirely on the source file. Vector graphics scale infinitely without pixelation, making them ideal for responsive web design and print. Starting with a clean, well-structured SVG ensures that edits remain crisp and file sizes stay manageable.
NiceSVG is the primary tool for accessing and managing high-quality vector assets. It allows you to open, edit, and convert SVG files with ease, ensuring that every path and anchor point is intact. When sourcing new graphics, rely on reputable repositories like SVG Repo or SVG Backgrounds to find licensed, optimized vectors ready for immediate use.
Avoid downloading rasterized images and saving them as SVGs. These files contain embedded pixels rather than mathematical paths, which defeats the purpose of using a vector format. Always verify that the file you open is a true SVG with editable code, not a disguised PNG or JPEG.
Open SVGs in your design app
Opening an SVG file is the first step in any workflow, but the method changes depending on whether you are editing vectors in a dedicated design tool or tweaking code in a text editor. Each environment handles the XML structure differently, so knowing the right import path saves time and prevents formatting errors.
Figma treats SVGs as vector layers, making them easy to edit and style. You can drag and drop an SVG file directly onto the canvas, or use File > Import to browse your system. Once imported, the SVG expands into individual paths and groups that you can recolor, resize, or combine with other shapes without losing quality.
Illustrator is the industry standard for vector editing. Go to File > Open and select your SVG. Illustrator will parse the XML and convert it into editable vector objects. If the SVG contains complex gradients or effects, Illustrator may convert some elements to raster images or expand them into paths. Always check the Layers panel to ensure your paths are grouped logically before making changes.
For developers, Visual Studio Code offers a quick way to preview SVGs without leaving the editor. Install the SVG Viewer extension by c433. Once installed, right-click your .svg file and select Open Preview. This renders the vector in a side panel, allowing you to verify how the graphic looks in a browser context before integrating it into your project.
Each of these tools serves a different purpose in the editing pipeline. Figma is ideal for layout and UI integration, Illustrator for complex vector manipulation, and VS Code for quick validation and code inspection. Choose the tool that matches the depth of editing you need to perform on the SVG file.
Edit paths and colors directly
Editing SVG files is the difference between using a generic stock asset and having a unique brand element. Because SVGs are built on code rather than pixels, you can tweak specific properties like fill, stroke, and path data without losing quality. NiceSVG makes this accessible by letting you adjust colors and shapes visually, while standard vector tools like Inkscape or Illustrator offer granular control over the underlying geometry.
Change colors and strokes
The easiest way to customize an SVG is by modifying its color properties. In NiceSVG, you can select any shape and use the color picker to change the fill (the inside color) or the stroke (the outline). This is far more efficient than replacing the entire file when you need a different color variant for a dark mode interface or a seasonal campaign.
If you prefer code, you can open the SVG in a text editor. Look for attributes like fill="#FF0000" or stroke-width="2". Changing these hex codes or numerical values updates the visual output instantly. This method is particularly useful for batch-editing multiple icons to match a specific brand palette without opening a heavy design application.
Adjust the path data
For more significant changes, you need to edit the path data. The d attribute in an SVG tag contains the mathematical instructions for drawing the shape—movements, lines, and curves. In vector editors, you use the direct selection tool (the white arrow) to click on individual anchor points and drag them, reshaping the icon.
Editing path data allows you to remove unwanted details, simplify complex logos, or merge separate shapes into a single solid object. Be cautious when manually typing path data; a single typo in a coordinate can distort the entire image. Always preview your changes in a browser to ensure the geometry remains intact before saving.
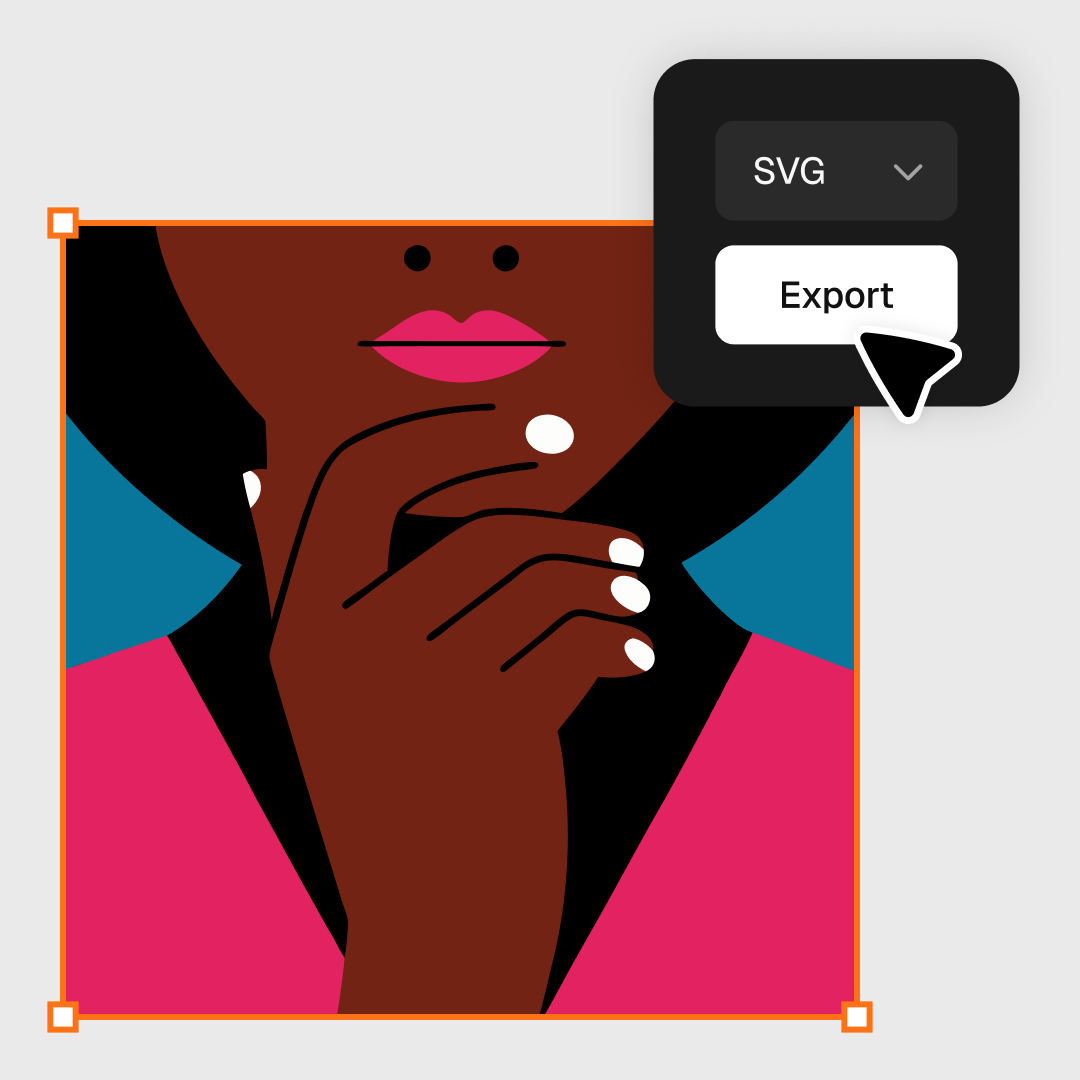
Convert SVG to other formats
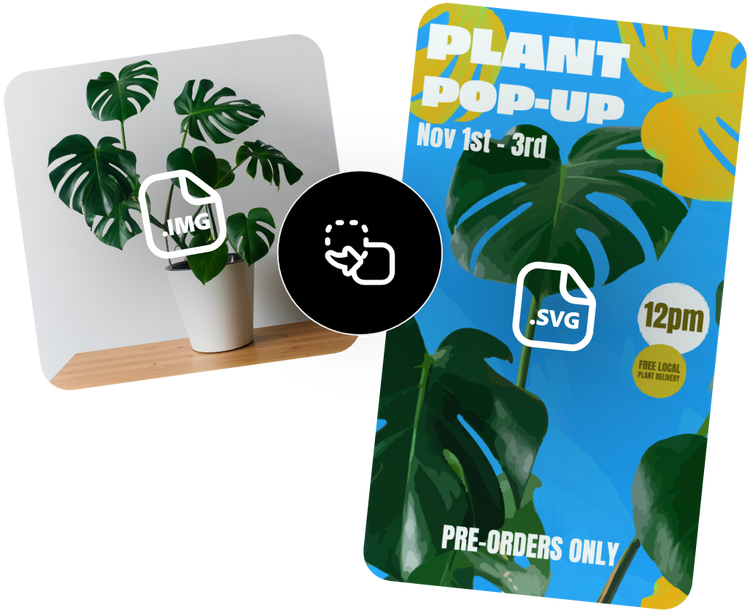
SVG files are ideal for web design, but they aren't always suitable for printing or social media. While browsers render SVGs natively, many platforms require raster images like PNG or JPG, or vector documents in PDF format. Converting your SVG ensures compatibility across different software and devices.
Before exporting, it helps to verify your file's readiness. Use this quick checklist to avoid common export issues:
- Check layers: Ensure all elements are grouped and named logically.
- Flatten transparency: Some converters struggle with complex alpha channels.
- Verify color profiles: Confirm your colors match the target output (sRGB for web, CMYK for print).
Export to PNG or JPG
For social media posts or email newsletters, raster formats are usually the best choice. PNG preserves transparency, making it perfect for logos and icons that need to sit on varied backgrounds. JPG is better for photographs or complex illustrations where file size matters more than transparency.
When converting, set the resolution to 72 DPI for screen use. If you need higher quality for zoomed-in views, increase the scale factor in NiceSVG’s export settings. This ensures your image remains crisp without bloating the file size unnecessarily.
Export to PDF
Printing or sharing professional documents often requires PDF. Unlike PNG or JPG, PDFs can retain vector data, meaning your graphics stay sharp at any zoom level. This is crucial for business cards, flyers, or technical drawings.
When exporting to PDF, select "Preserve Vector Data" in the export options. This keeps text and shapes editable and scalable. If you only need a static image within the PDF, you can rasterize the SVG first, but retaining vector integrity is generally the safer bet for professional output.
Export to EPS
For legacy design workflows or compatibility with older vector software, EPS (Encapsulated PostScript) is still relevant. It is widely supported by desktop publishing applications like Adobe InDesign. While SVG is the modern standard for web vectors, EPS remains the bridge for print-heavy industries.
Use the "Export to EPS" option in NiceSVG if you need to hand off files to printers or designers using traditional tools. Ensure all fonts are embedded to prevent type discrepancies when the file is opened on another machine.
Fix common SVG errors
Even clean vectors can break when moved between editors or platforms. The most frequent issues involve missing fonts, broken external links, or bloated code that slows down loading. NiceSVG helps you catch these problems before they cause display errors.
Check for missing fonts
SVG files often reference system fonts that may not exist on the viewer’s device. If text appears as boxes or reverts to a default typeface, the font family is missing or unsupported. Use NiceSVG to inspect the <text> elements and replace web fonts with standard system fonts or convert text to paths for consistent rendering.
Validate broken links and images
Many SVGs embed external images or links to CSS files. If these resources are unavailable, the graphic will look incomplete. Open the file in NiceSVG to identify any broken <image> tags or external style references. Replace external assets with inline data URIs or embed the images directly into the SVG structure.
Clean up bloated code
Exported SVGs often contain unnecessary metadata, hidden layers, or redundant code from design software. This bloat increases file size and can cause compatibility issues. Use NiceSVG’s optimization tools to strip out unused attributes, simplify paths, and compress the code. A clean SVG loads faster and works across more browsers.
Frequently asked: what to check next
Can I open SVG files in standard image viewers?
Most basic photo apps like Preview or Windows Photos struggle with SVG. They often treat the file as a broken image or show a blank placeholder because they expect raster formats like JPEG or PNG. For quick viewing, use a dedicated vector viewer or a web browser, which renders SVG natively.
Are free SVG files safe to use?
SVGs from reputable sources like SVG Repo or Flaticon are generally safe, but always check the license. Some free icons require attribution, while others are public domain. Avoid downloading SVGs from unknown third-party sites, as malicious code can sometimes be hidden within the XML structure.
Why does my SVG look blurry when I zoom in?
Unlike raster images, SVGs are vector-based and should remain sharp at any scale. If your SVG appears blurry, it likely contains embedded raster images (like low-res JPEGs) or was exported incorrectly from a vector editor. Re-exporting with higher resolution settings usually fixes this.
Can I edit SVG files in Photoshop?
Photoshop treats SVGs as raster images by default, which limits editing capabilities. To truly edit the vector paths, use dedicated software like Adobe Illustrator, Inkscape, or NiceSVG. These tools allow you to modify individual nodes, colors, and shapes without losing quality.
How do I convert an SVG to PNG?
You can convert SVG to PNG using online converters or design software. In NiceSVG, simply open the file and use the export function to save as PNG. This is useful for web use where vector support is limited, though you lose the scalability benefits of the original SVG format.
No comments yet. Be the first to share your thoughts!