
Open SVG files in your browser
You don't need heavy design software just to check what an SVG looks like. Your web browser is already equipped to render vector graphics instantly. This is the fastest way to preview a file before you decide to edit it in NiceSVG or another editor.
To open an SVG file, simply drag the file from your computer folder and drop it into an open browser tab. Alternatively, you can right-click the file, select "Open with," and choose Chrome, Firefox, Safari, or Edge. The browser will display the graphic at its full resolution without any pixelation, allowing you to inspect the colors and shapes immediately.
This method works because browsers natively support the SVG format. You can zoom in to 400% or more to check for jagged edges or missing details. If the file opens correctly, you know the code is valid and the visual is ready for your project.
Edit vector paths with NiceSVG
Editing an SVG file is less like painting and more like sculpting with code. NiceSVG gives you direct control over the underlying paths, allowing you to reshape lines, adjust curves, and change colors without losing the crisp quality that makes vectors so useful. Whether you are tweaking a logo or preparing a design for a Cricut machine, this workflow lets you make precise changes in seconds.

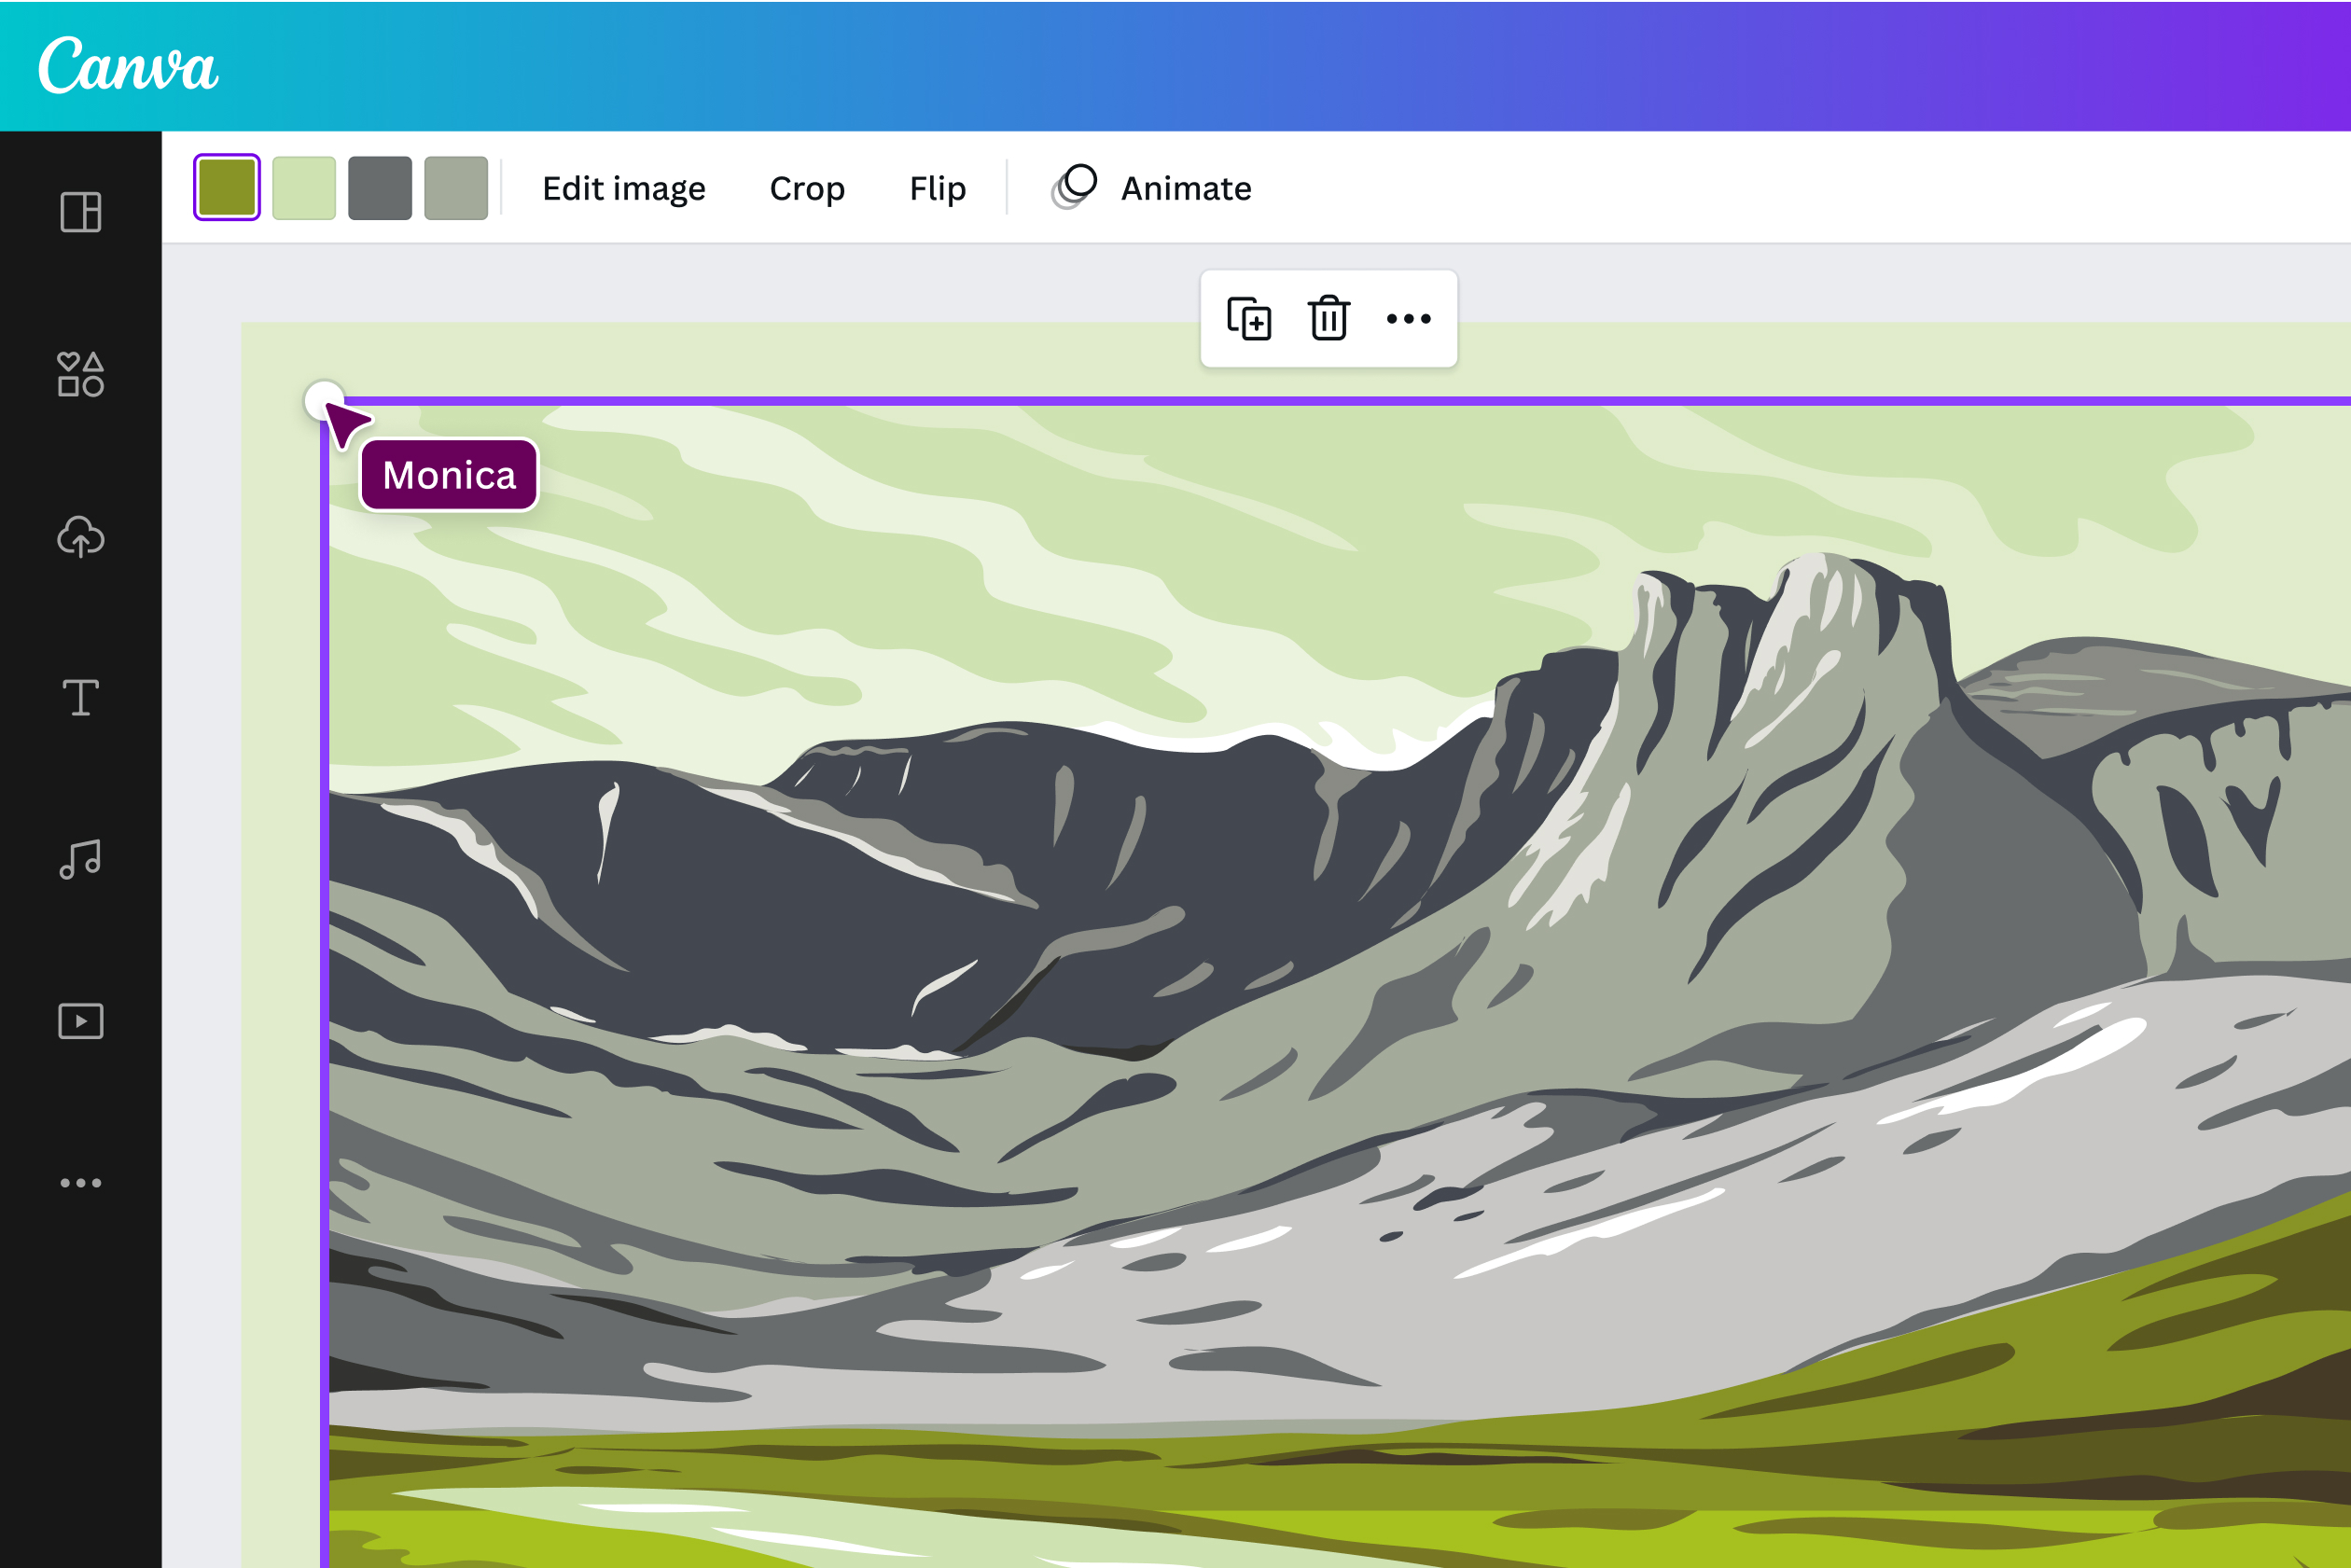
Open your SVG file in NiceSVG. Unlike raster editors where you click on pixels, here you click on the lines and shapes themselves. Click on the specific stroke or fill you wish to modify. You will see anchor points appear on the path, confirming that the vector object is active and ready for manipulation.
Drag the anchor points to reshape the line. If you need to smooth out a jagged edge or tighten a curve, use the handle tools that appear next to the selected points. This is where you fix minor imperfections in the original file, ensuring the geometry is clean before you proceed to styling. Move points carefully; each adjustment changes the mathematical definition of the shape.
Once the shape is correct, update its appearance. Click the fill or stroke color box in the sidebar to open the color picker. You can input specific hex codes for brand consistency or pick from a palette. Changing colors in an SVG is instantaneous and doesn't degrade image quality, allowing you to experiment with multiple color schemes rapidly.
When you are satisfied with the edits, click the export button. Choose the SVG format to preserve the vector data. This ensures the file remains scalable for future use, whether you are uploading it to a website, sending it to a printer, or using it in a design tool like Illustrator or Inkscape. The file size will remain small, keeping your project lightweight.
This workflow transforms a static graphic into a flexible asset. By mastering path selection and color adjustment in NiceSVG, you can repurpose existing vectors for new projects without starting from scratch.
Export clean, lightweight SVG files
Saving your work correctly is just as important as the editing process. An unoptimized SVG can carry hidden bloat that slows down your website, while a clean export ensures your graphics render sharply and load instantly.
Start by clicking File > Export in NiceSVG. Choose SVG as the format. In the export dialog, look for the "Optimize" or "Minify" checkbox. Enabling this strips out unnecessary whitespace and redundant attributes, significantly reducing file size without affecting visual quality.
Ensure the "Include metadata" option is unchecked. This removes editor-specific data (like Adobe Illustrator or Inkscape comments) that serves no purpose on the web. Keeping it unchecked keeps your code tidy and your file size minimal.
Before finalizing, open the exported file in a text editor. Look for any lingering xmlns attributes or embedded fonts that aren't necessary. If the file looks like clean XML with simple path data, you are ready to upload.
A lightweight SVG is like a lean delivery truck: it carries exactly what it needs to get the job done, without the extra weight of unnecessary cargo. By removing metadata and optimizing paths, you ensure your graphics perform well across all devices and browsers.
For more resources on using SVGs in web design, you can refer to SVG Backgrounds, which offers customizable, tiny-in-file-size graphics licensed for multi-use.
Fix common SVG editing mistakes
Even with a robust editor like NiceSVG, SVG files can behave unexpectedly. A path might break, fonts may vanish, or the file size could balloon, making your design slow to load. These issues usually stem from how the vector data is structured or exported. By addressing these specific pain points early, you ensure your graphics remain crisp and lightweight across all devices.
Broken or distorted paths
Paths are the backbone of most SVGs, and they are fragile. If you see jagged edges or missing segments, the underlying coordinates are likely corrupted or incompatible with your current version of NiceSVG. Start by selecting the affected shape and using the "Simplify Path" tool to clean up unnecessary nodes. If the issue persists, check the d attribute in the code view to ensure all commands (like M, L, C) are correctly formatted and closed.
Missing or substituted fonts
Text in SVGs often relies on system fonts. If you export a design using a specific typeface that isn't installed on the viewer's machine, NiceSVG will substitute it, potentially ruining your layout. To fix this, either convert your text to paths within NiceSVG before exporting, or embed the font file directly into the SVG code. For web use, linking to a web font via CSS is another reliable option, but ensure the font file is accessible to avoid blank spaces.
Bloated file sizes
A clean SVG should be tiny, but complex illustrations can become heavy with redundant code. NiceSVG includes an "Optimize" button that strips out unnecessary metadata, hidden layers, and redundant attributes. Run this optimization before saving. If the file is still too large, check for embedded raster images (like JPEGs or PNGs) within the vector; converting these to vector paths or compressing them separately can drastically reduce the overall size.
Find free SVG files for projects
You can build your vector library without spending money by using dedicated free SVG repositories. These sites host thousands of public domain or Creative Commons licensed assets that are ready for commercial use. Once you download a file, open it in NiceSVG to inspect the code and edit the paths before adding it to your project.
Start with SVG Repo for general vectors and icons. It offers a massive search index of over 500,000 free SVG vectors and icons. You can filter by color or style to find exactly what you need. For craft-specific designs, check out Freesvg.org, which focuses on clip art and silhouettes often used with cutting machines. Creative Fabrica also provides a curated selection of free SVGs for commercial use, though their library is smaller than the dedicated vector sites.
Always verify the license type before downloading. Even if a file is free, some licenses require attribution or restrict commercial use. Use NiceSVG to clean up any unnecessary nodes or groups in the downloaded file. This ensures your final design is lightweight and renders correctly across all platforms.
-
Verify the license allows your intended use (commercial or personal)
-
Check file size and node count for optimization
-
Inspect code in NiceSVG to remove unnecessary groups
Common svg workflow: what to check next
Starting with vector graphics often brings up practical hurdles. Here are answers to the most frequent questions about opening, editing, and saving SVG files using NiceSVG.
No comments yet. Be the first to share your thoughts!