
The problem with AI pixels
Midjourney and DALL-E 3 produce raster images. These are just grids of pixels. They look great on a phone screen, but if you try to print one on a billboard or blow it up for a website hero section, they turn into a blurry mess. You can't scale pixels infinitely.
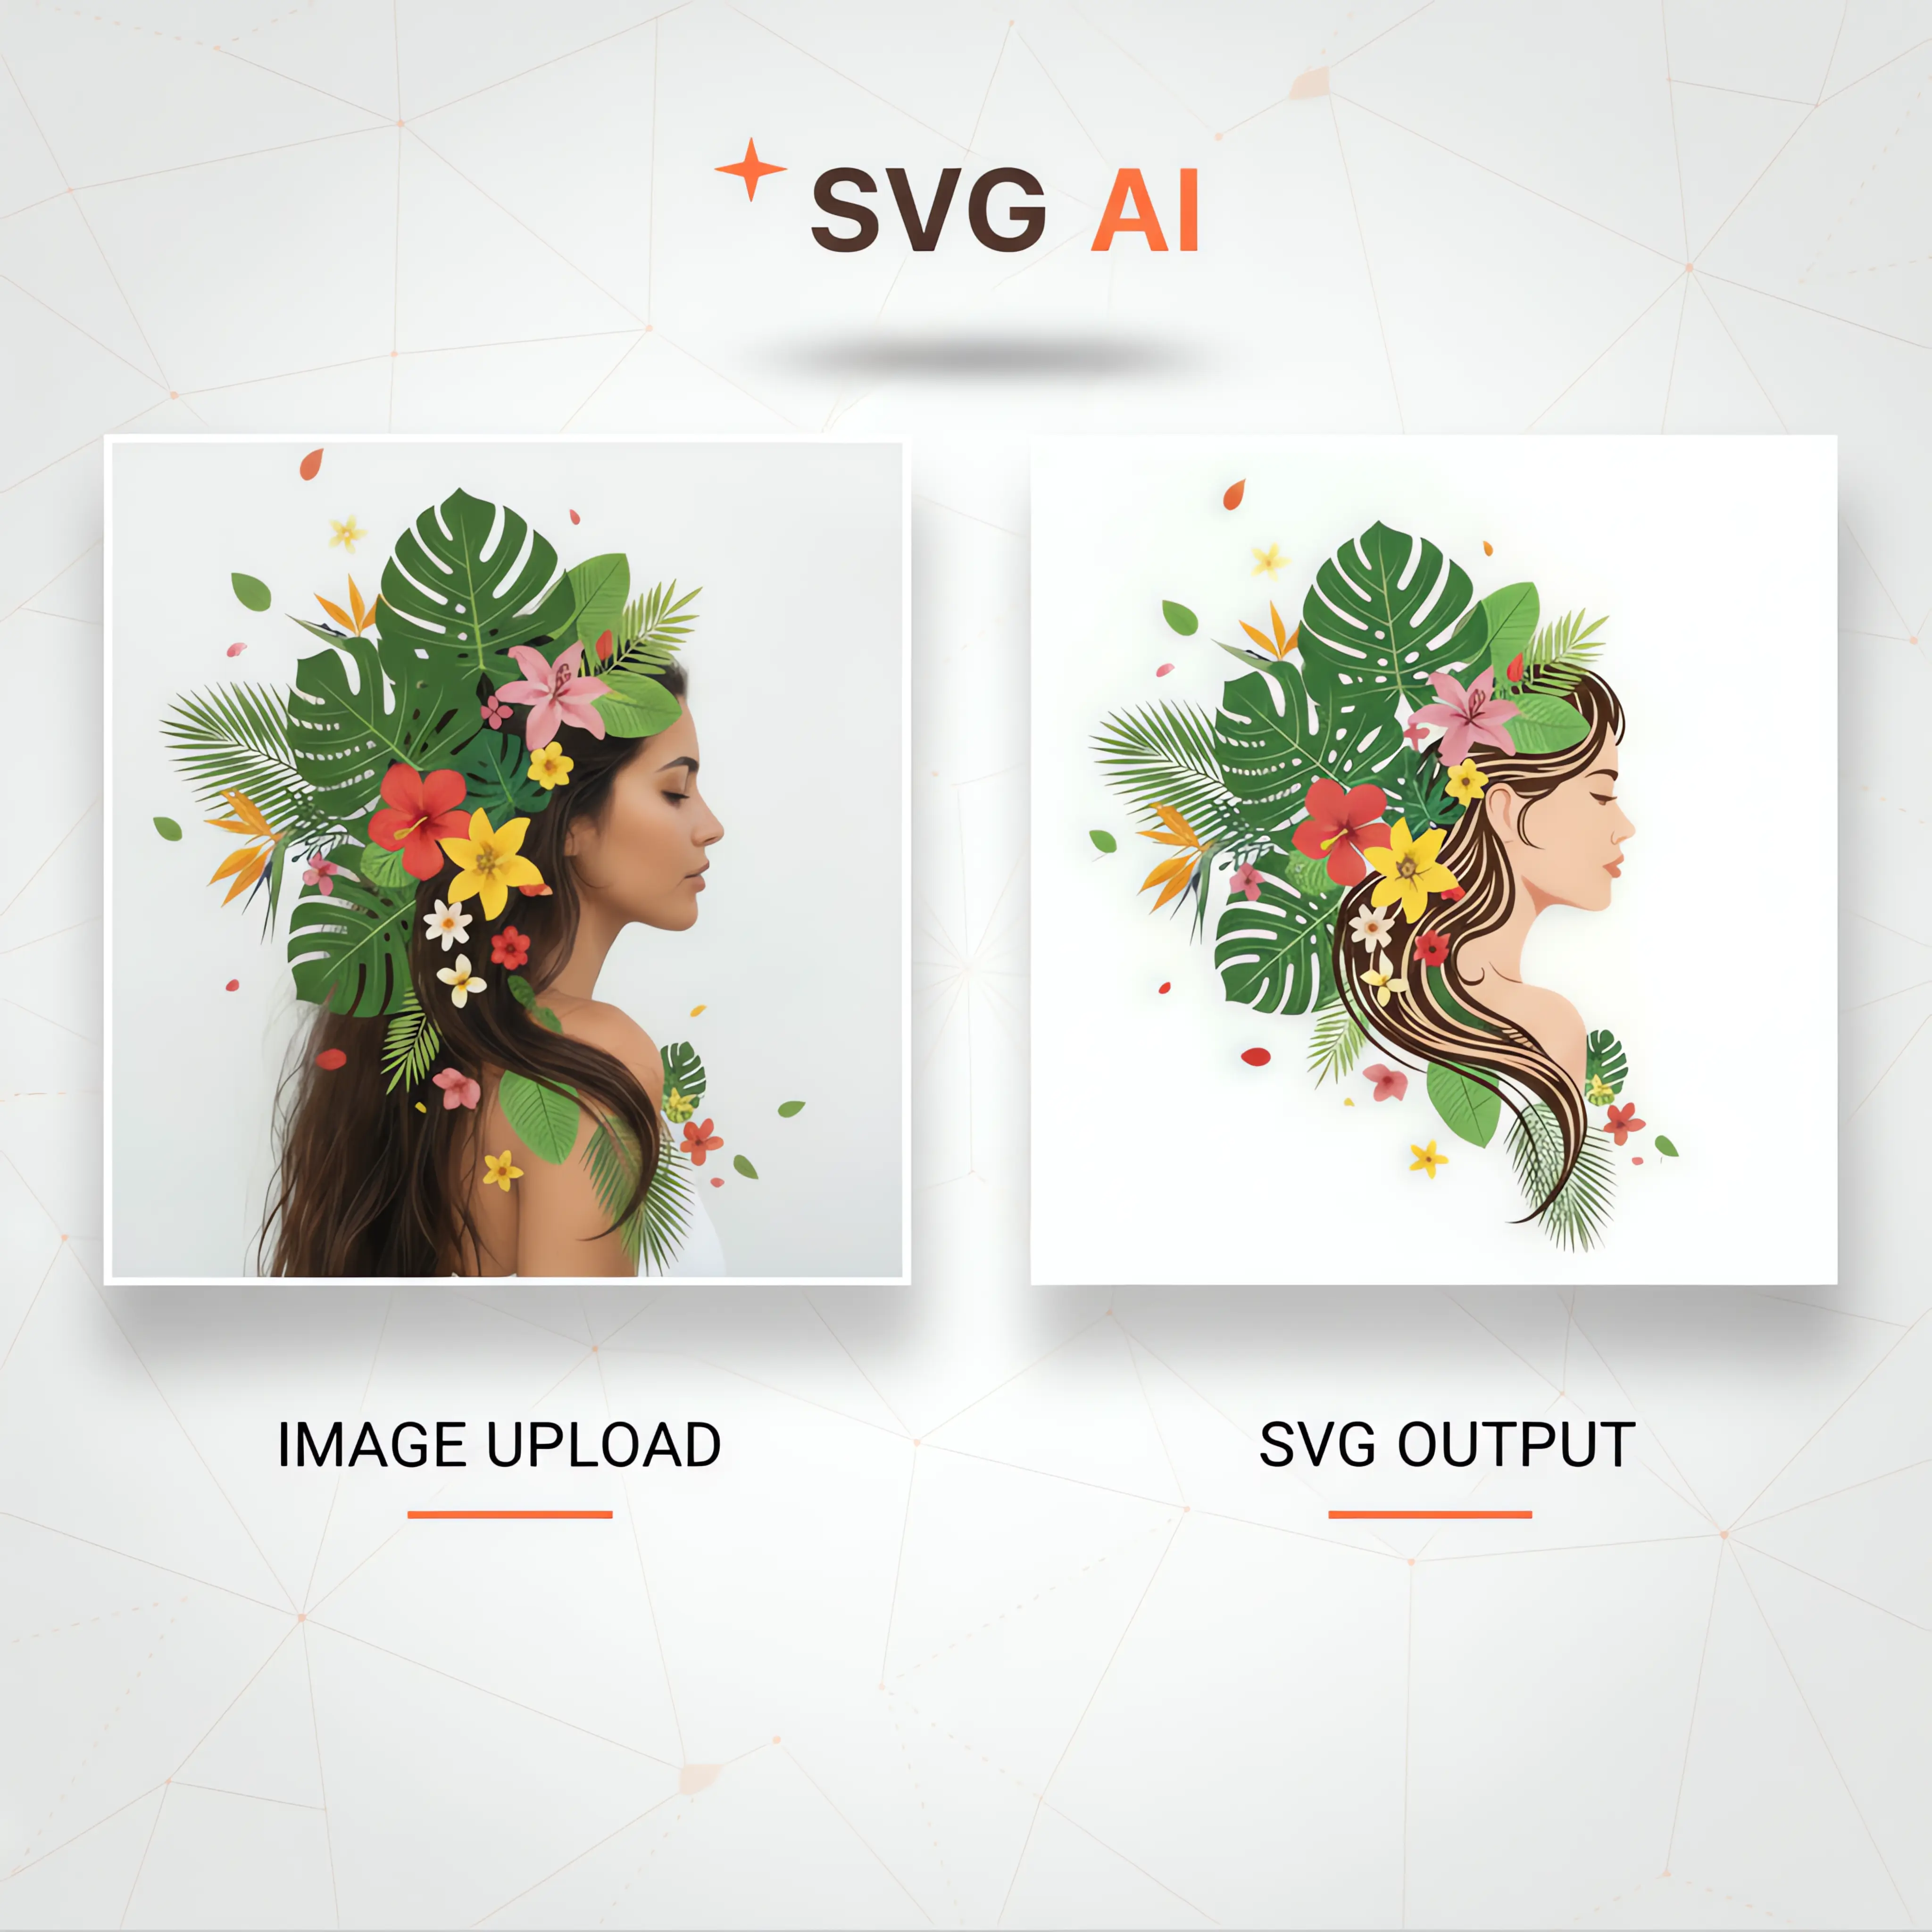
This is where SVG files come in. Scalable Vector Graphics, or SVGs, are built using mathematical equations instead of pixels. This means you can resize them to any dimension without any blurriness or loss of detail. They’re perfect for logos, icons, illustrations, and anything else that needs to look sharp at any size.
Beyond scalability, SVGs offer other advantages. Their file sizes are often smaller than equivalent raster images, making them ideal for web use where page load speed is critical. Plus, because they’re defined by code, SVGs are easily editable. You can change colors, shapes, and other attributes directly in a text editor or vector graphics software. This opens up possibilities for animation and interactivity.
Converting AI-generated images to SVG isn’t just about technical superiority. It’s about unlocking the full potential of AI art – making it versatile, adaptable, and ready for any project. It allows you to move beyond a static image and integrate AI creations seamlessly into dynamic designs.
One-click tools usually fail
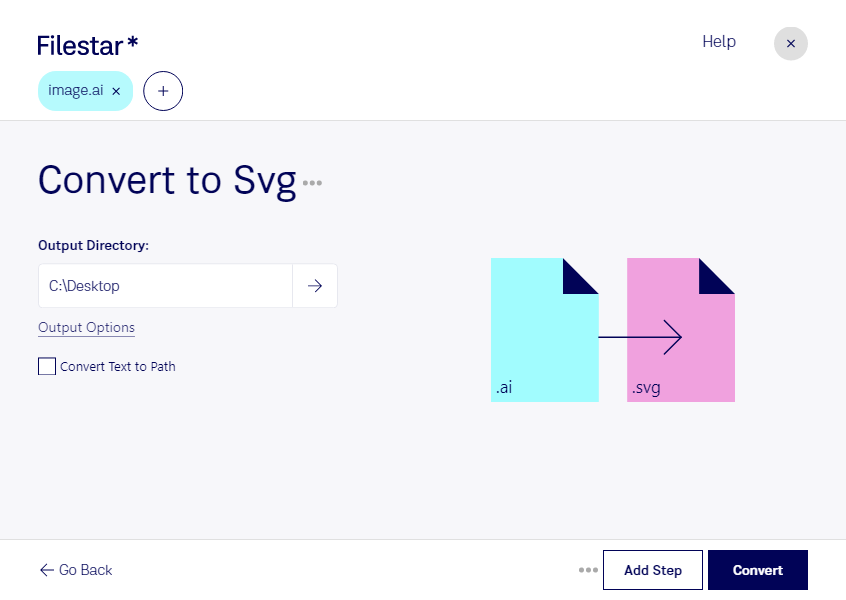
Several online tools advertise direct AI-to-SVG conversion, promising a one-click solution. Convertio and CloudConvert are two popular options, both offering free tiers and support for a wide range of file formats. Canva, with its Pro subscription, also includes an AI to SVG converter.
Direct conversion is usually a letdown. These sites just run a basic tracing script that tries to guess where lines should be. If your AI art has complex textures or gradients, the resulting SVG will look like a melted crayon drawing. It works for a flat icon, but not much else.
I’ve found that simpler graphics, like icons or illustrations with clean lines, tend to convert better than photorealistic images. Expect to spend time cleaning up the resulting SVG, correcting imperfections, and optimizing paths. Canva’s Pro version, while convenient, comes with a subscription cost, which may not be ideal for occasional use.
CloudConvert offers a robust set of options for raster to vector conversion, including control over resolution and color space. Convertio is straightforward and easy to use, but offers fewer customization options. The biggest limitation across all of these tools is that they aren’t truly "converting’ the AI"s understanding of the image, but rather rebuilding it as a vector.
- Convertio is a quick, free option but gives you almost no control over the path count.
- CloudConvert handles various formats and offers a few more settings for the vector output.
- Canva Pro has a built-in converter that is convenient if you already pay for the subscription, though it's not worth buying just for this feature.
AI to SVG Conversion Tools: A Comparison (2026)
| Ease of Use | Output Quality | Features | Pricing | Best For |
|---|---|---|---|---|
| Very Easy | Generally Good | Simple conversion process, supports various file formats. | Free Tier available, Subscription for increased limits. | Quick, one-off conversions of simpler AI images. |
| Easy | Potentially Higher Detail | Supports a wide range of formats; offers some control over conversion settings. | Free Tier available, Subscription plans for larger volumes. | Users needing format flexibility and potentially more detailed SVG output. |
| Very Easy | Good for Basic Shapes | Integrated design environment; allows for editing after conversion; vector editing tools. | Subscription required (Canva Pro). | Simple graphics and designs where editing within Canva is desired. |
| Moderate | Variable, depends on AI image complexity | API access available for developers. | Usage-based pricing, potentially higher cost for large files. | Automated workflows and integration into other applications. |
| Easy | Good | Batch conversion capabilities. | Free Tier available, Subscription options. | Processing multiple files simultaneously. |
Qualitative comparison based on the article research brief. Confirm current product details in the official docs before making implementation choices.
Using Illustrator for better control
Adobe Illustrator’s Image Trace feature is a powerful tool for converting raster images to vector graphics. It offers a wide range of presets designed for different types of images. "High Fidelity Photo’ is best for detailed, photorealistic images, but it creates a very complex vector graphic. ‘Low Fidelity Photo" simplifies the image, resulting in a cleaner vector but potentially losing some detail.
Presets like "3 Colors’ or ‘6 Colors’ are ideal for images with limited color palettes, such as logos or illustrations. Illustrator also provides advanced settings that allow you to fine-tune the tracing results. The ‘Paths’ setting controls how closely the paths follow the original image. Higher values create more accurate paths, but also increase complexity. The ‘Corners" setting affects how sharp or rounded corners are.
The "Noise’ setting helps to reduce unwanted details and smooth out rough edges. Experimenting with these settings is key to achieving the desired outcome. It"s often helpful to start with a preset and then adjust the advanced settings to refine the results. Remember that more complex images generally require higher path fidelity and lower noise reduction.
After tracing, you'll likely need to expand the trace to turn it into editable paths. You can then use Illustrator’s path editing tools to clean up any imperfections, simplify paths, and optimize the vector graphic. Don't be afraid to zoom in and carefully examine the results, particularly around curves and corners. The expand button is found in the Control panel at the top of the screen.
Illustrator’s tracing capabilities are generally considered very strong, but they’re not a magic bullet. Complex images still require significant manual cleanup. It’s important to understand the different settings and how they affect the output to get the best possible results.
Inkscape: the free way to trace
Inkscape is a free and open-source vector graphics editor that provides a compelling alternative to Adobe Illustrator. It includes a feature called "Trace Bitmap’ that is functionally similar to Illustrator"s Image Trace. You can access it through Path > Trace Bitmap.
Inkscape’s Trace Bitmap offers several options for controlling the tracing process, including brightness cutoff, edge detection, and color quantization. It also allows you to specify the number of scans and stack scans, which can affect the level of detail and the complexity of the resulting vector graphic.
Compared to Illustrator, Inkscape’s tracing feature can sometimes produce slightly less refined results, particularly with complex images. However, it’s still a very capable tool, and its free price tag makes it an excellent option for those on a budget. Inkscape also provides powerful path editing tools for cleaning up traced SVGs.
One advantage of Inkscape is its ability to directly edit the nodes and segments of the traced paths, giving you precise control over the vector graphic. While there is a learning curve for users unfamiliar with Inkscape, the wealth of online tutorials and documentation can help you get up to speed.
ConvertAPI for Automation
For developers or anyone needing to convert large batches of AI-generated images to SVG, ConvertAPI offers a powerful solution. This API allows you to programmatically convert AI images to SVG, controlling parameters like DPI, scaling, color space, and quality settings.
Unlike the online converters, ConvertAPI is geared towards programmatic access, meaning you’ll need some coding knowledge to use it. However, the benefits are significant: automation, scalability, and the ability to integrate SVG conversion into your existing workflows. It's a good option if you need to process hundreds or thousands of images.
The API documentation outlines the available parameters and how to use them. You can specify the desired resolution (DPI), scaling factor, color space (RGB, CMYK, grayscale), and quality level. ConvertAPI handles the underlying conversion process, delivering the SVG output directly to your application.
While ConvertAPI isn't ideal for casual users, it's a game-changer for those who need to automate the AI-to-SVG conversion process. It offers flexibility and control that online converters simply can’t match.
Common Pitfalls & Troubleshooting
Converting AI images to SVG isn’t always a smooth process. You’ll likely encounter some common pitfalls along the way. One frequent issue is overly complex paths, resulting in large file sizes and slow rendering times. This often happens when tracing high-resolution images with a lot of detail.
Jagged edges are another common problem, particularly around curves and diagonal lines. This can be addressed by adjusting the tracing settings to create smoother paths. Color inaccuracies can also occur, especially if the original image has a wide range of colors. Optimizing the color palette and using appropriate color profiles can help.
To simplify complex paths, use the path editing tools in Illustrator or Inkscape to remove unnecessary nodes and segments. Increasing the corner smoothness can also help to reduce jagged edges. For color inaccuracies, experiment with different color profiles and calibration settings. Finally, use SVG optimization tools like SVGO to reduce file size and improve performance.
Don't be afraid to experiment with different tracing settings and manual adjustments. The key is to find a balance between accuracy, detail, and file size. Sometimes, it’s necessary to simplify the original image or accept some loss of detail to achieve a manageable SVG file.
Optimizing SVGs for the Web
Once you have an SVG file, it’s important to optimize it for web use. This involves removing unnecessary metadata, simplifying paths, and reducing file size. Tools like SVGO (SVG Optimizer) are specifically designed for this purpose. SVGO removes unused elements, compresses data, and optimizes paths to minimize file size.
Smaller SVG files load faster, improving website performance and user experience. Optimizing SVGs is particularly important for complex graphics with a lot of detail. When using SVGs in HTML, make sure to use the `viewBox` attribute to define the coordinate system and ensure that the SVG scales correctly on different screen sizes.
You can also use CSS to control the size, position, and appearance of SVGs. Responsive SVGs can adapt to different screen sizes and orientations, providing a consistent user experience across devices. By following these optimization techniques, you can ensure that your SVGs are web-friendly and deliver optimal performance.

No comments yet. Be the first to share your thoughts!