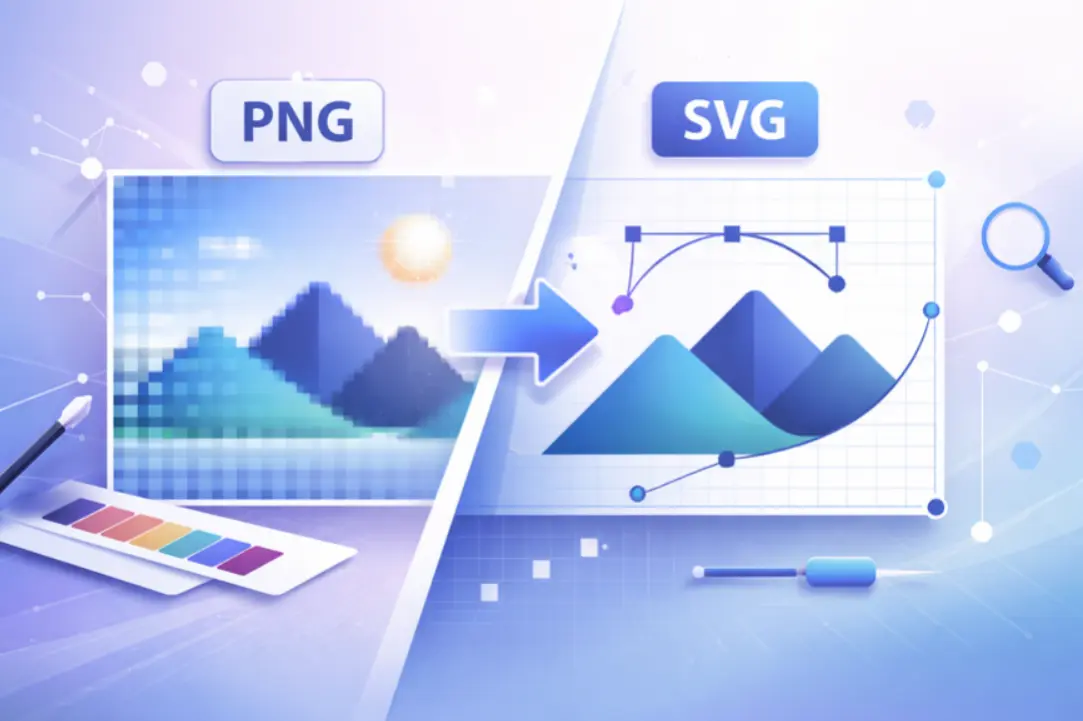
What matters most when you convert PNG to SVG
Converting PNG to SVG is rarely a one-click fix. A PNG is a grid of colored pixels, while an SVG is a set of mathematical paths. When you convert between them, you are asking software to guess the shapes behind the pixels. This process, called vectorization, is where clean edges are either preserved or lost.
The quality of your conversion depends entirely on the source image. Simple graphics with solid colors and hard boundaries—like logos, icons, or text—convert well because the software can easily identify distinct shapes. Complex photos with gradients, shadows, and subtle color shifts create messy, jagged edges because the software tries to trace noise as if it were detail.
Before you spend time tweaking settings, check your PNG. If the edges are already blurry or pixelated, no converter will magically sharpen them. The best results come from high-contrast images where the subject stands out clearly against the background. If your original file is low resolution, the SVG will inherit those limitations, resulting in a file that looks fuzzy when scaled up.
"Vectorization is an approximation, not a perfect translation. The software is interpreting pixels, not reading your mind."
— Community consensus from design forums
Most online tools offer a "threshold" or "detail" setting. Start with the default and adjust only if the edges look too rough. Over-simplifying removes necessary detail; under-simplifying leaves a pixelated outline. The goal is to find the balance where the shape is recognizable but the file size remains small.
Quick comparison of common tools
| Tool | Best For | Edge Quality | Cost |
|---|---|---|---|
| Adobe Express | Quick, simple logos | Good | Free |
| Inkscape | Complex, custom edits | Excellent | Free |
| Vectorizer.ai | Photos, complex art | Very Good | Paid |
| Online-Convert | Batch processing | Fair | Free |
For most users, starting with a free online tool like Adobe Express is enough. If the edges are still not clean, export the SVG and open it in a vector editor like Inkscape to manually clean up stray nodes. This two-step approach saves time while ensuring the final file looks professional.
Details to compare
Not every PNG-to-SVG converter handles the same trade-offs between speed, fidelity, and file size. The right choice depends on whether you need instant results for a quick mockup or a clean vector for professional print work. Below are the concrete factors that separate a usable conversion from one that introduces jagged edges or bloated code.
Tracing accuracy and edge fidelity
The core of any conversion is the algorithm used to detect paths. Simple threshold-based tracing often leaves "fences" or jagged stair-stepping along diagonal lines. Look for tools that use adaptive smoothing or bezier curve approximation to keep edges clean. Adobe Express, for example, uses a straightforward vectorization engine that works well for high-contrast logos but may struggle with subtle gradients. For complex illustrations, you might need a tool that allows you to adjust the threshold sensitivity manually.
File size and code cleanliness
A clean SVG should be lightweight. Poor converters often export thousands of tiny, unnecessary path nodes, resulting in massive file sizes that slow down web pages. Check if the tool offers an "optimize" or "simplify" step after conversion. This reduces node count without visibly altering the shape. If the output file is significantly larger than the original PNG, the conversion likely failed to simplify the geometry effectively.
Background handling and transparency
PNGs often include transparent backgrounds. A good converter must preserve this alpha channel during the vectorization process. Some free online tools flatten the background to white, forcing you to manually remove it later. Look for options that detect and remove background colors automatically, or that allow you to upload a pre-cleaned image with a transparent layer. Removing backgrounds before conversion, as suggested by SVGMaker, significantly improves the final result.
Batch processing and privacy
If you are converting multiple images, batch processing saves time. However, for sensitive designs, privacy matters more. Free online converters often store your uploads on their servers for training data or analytics. Desktop software or local tools offer better security for proprietary assets. Consider whether the convenience of cloud processing outweighs the risk of uploading confidential work to an unknown third-party server.
| Factor | Free Online Tools | Desktop Software | AI-Powered Converters |
|---|---|---|---|
| Edge Fidelity | Basic, may show jagged edges | High, manual control over nodes | Variable, depends on model training |
| File Size | Often bloated with excess nodes | Optimized, clean code | Usually lightweight |
| Background Removal | Limited, often requires pre-cleaning | Advanced, layer-aware | Automatic, high accuracy |
| Privacy | Low, uploads to cloud servers | High, local processing only | Low to Medium, cloud-based AI |
Community feedback often highlights the tension between ease of use and output quality. Users frequently report that while online tools are convenient, they require significant manual cleanup in a vector editor like Inkscape or Illustrator. Desktop software, while having a steeper learning curve, offers the precision needed for professional workflows.
The best approach is often a hybrid one: use a quick online tool for initial tracing, then refine the paths in a dedicated vector editor. This balances speed with the control needed to maintain clean edges.
How to decide which converter fits your project
Converting PNG to SVG without losing clean edges isn't a one-size-fits-all task. The right tool depends entirely on what your source image contains and how you plan to use the final vector. Before uploading anything, check these three factors to avoid blurry results or massive file sizes.
1. Check your source image type
Not all PNGs are created equal. If your image is a logo, icon, or illustration with flat colors and sharp lines, most online converters will handle it well. However, if you are working with a photograph or an image with complex gradients, vector conversion will likely fail to preserve detail, resulting in a messy, pixelated outline.
Use free online converters like Adobe Express or SVGConverter. These tools use algorithms to trace edges effectively on simple shapes. They are fast, require no signup, and produce clean, scalable files ideal for web icons or print logos.
Avoid direct conversion. Vectorizing photos creates massive files with thousands of unnecessary anchor points. Instead, keep the PNG for raster use or use specialized software like Adobe Illustrator to manually trace only the essential elements, rather than converting the entire image.
Adjust the threshold settings. If your converter offers "smoothness" or "detail" sliders, start with the lowest detail setting. This ignores minor noise and grain, focusing only on the primary strokes. Higher settings often capture background noise as jagged vector artifacts.
2. Decide on file size vs. precision
Higher precision means more anchor points, which increases file size. For web use, a smaller file is usually better. For print, clarity is king. If you need a crisp logo for a billboard, prioritize precision. If it's a website icon, prioritize a lightweight file.
3. Verify the output
Always zoom in 400% on the converted SVG. Look for "fuzzy" edges or stray dots. If the edges look jagged, the converter's threshold was too low. If the shape is distorted, the threshold was too high. Most online tools let you tweak this; desktop software offers more granular control.
What to avoid
Most free converters treat your PNG like a photograph, tracing every pixel as a separate vector shape. The result is a bloated SVG file that looks fuzzy or jagged when scaled up. This happens because the tool prioritizes speed over vector logic, creating thousands of tiny nodes instead of clean paths.
Avoid tools that promise one-click perfection for complex images. If your PNG has gradients, shadows, or detailed textures, a simple trace will produce messy artifacts. Look for software that lets you adjust the threshold and smoothing settings. These controls help you balance detail with file size, keeping edges sharp.
Another common mistake is ignoring the source image quality. A low-resolution PNG will always produce a low-quality SVG, no matter how good the converter is. Start with a high-contrast, clean PNG. If the original edges are blurry, the vector output will be too. Always preview the result at 200% zoom before saving.
Common questions about PNG to SVG conversion
Will the conversion keep my sharp edges? Not automatically. Vector tracing software approximates pixels into curves, which often softens hard lines. To preserve crisp edges, start with a high-resolution PNG, increase the contrast, and reduce the color palette to 2–8 colors before tracing. Tools like Adobe Express or Super Vectorizer Pro handle this well, but you may still need to manually clean up the paths in a vector editor afterward.
Is it better to use free online tools or desktop software? Online converters like Adobe Express are fast and free for simple logos, but they struggle with complex details. Desktop software like Inkscape (free) or Illustrator (paid) gives you manual control over anchor points and smoothing. If you are cutting designs for a Cricut machine, desktop software is usually safer because it lets you fix the "halo" effect that online tools often leave behind.
Why do my SVGs have fuzzy or rounded corners? This happens when the original PNG has anti-aliased pixels (soft edges) that the tracer interprets as curves. Remove the background first to create a transparent PNG, then upscale the image by 2x or 4x before conversion. This gives the tracing algorithm more data to work with, resulting in sharper, more accurate vector paths.
Can I convert PNG to SVG without losing quality? You can minimize quality loss, but you cannot reverse the pixel data perfectly. Vectorization is an approximation. The key is to start with the cleanest possible source file. If the original PNG is low-resolution or has a busy background, the SVG will inherit those flaws. Always inspect the output in a vector editor to remove unnecessary nodes and smooth jagged lines.
No comments yet. Be the first to share your thoughts!