
Why you need to convert AI art to vector
Midjourney and DALL-E 3 produce raster files—grids of pixels that blur when you scale them up. SVGs use math to define lines and shapes, so they stay sharp at any size. If you want to use an AI generation for a logo or a large print, you have to turn those pixels into vectors.
The biggest advantage is scalability. Unlike raster images that become pixelated when enlarged, SVGs retain their sharpness at any size. This makes them ideal for logos, icons, and illustrations that need to look crisp on everything from small screens to large-format prints. Beyond that, SVGs are fully editable; you can tweak individual elements without losing quality. They're also typically much smaller in file size than raster images, leading to faster website loading times.
Animation is another key benefit. SVGs can be animated using CSS or JavaScript, creating interactive and engaging web experiences. While you can animate raster images, it’s generally more resource-intensive and less flexible. However, it’s important to be realistic. Directly converting a raster image to vector isn't always seamless. It often involves compromises and cleanup, as a raster image contains information an SVG doesn't inherently understand.
The demand for vector graphics is only increasing. Modern design workflows rely heavily on vector formats for their flexibility and scalability. Designers need to integrate AI-generated imagery into these workflows, and that often means converting those images to SVG. It's a necessary step for anyone wanting to leverage the power of AI in a professional design context.
The limits of online converters
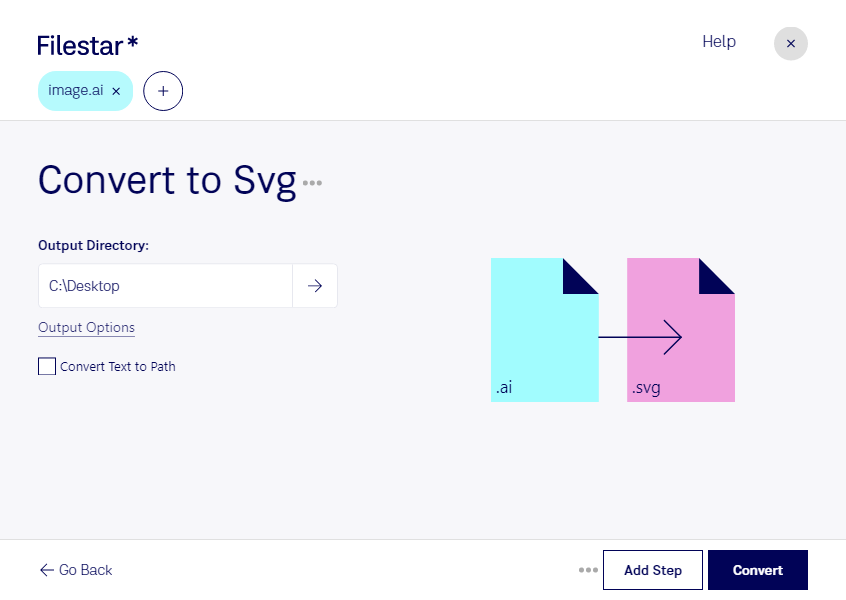
The simplest approach to converting AI images to SVG is using an online converter. Several services, such as Convertio and CloudConvert, offer this functionality. These tools are generally easy to use: you upload your image, select SVG as the output format, and download the converted file. Convertio, for example, boasts a straightforward interface and supports a wide range of input formats. CloudConvert offers similar functionality, with options for adjusting conversion settings.
However, the results are often…mixed. These converters essentially trace the image automatically, attempting to recreate the shapes as vector paths. With simpler AI-generated images—think flat illustrations or icons—the results can be surprisingly good. But when you throw a complex image with lots of detail, gradients, or textures at them, the conversion quality drops significantly. You'll often end up with a messy SVG file with a huge number of paths and a relatively large file size.
Free tools like Convertio often cap your file size, which is a headache for high-res generations. More importantly, these tools fail on photorealistic images. If your AI art has subtle gradients or complex textures, an automated converter will turn it into a muddy mess of ten thousand tiny paths.
In my experience, direct conversion is best suited for quick-and-dirty conversions of simple designs. If you need a high-quality SVG, especially for a complex image, you’ll likely need to resort to more manual methods. Don’t expect a perfect result straight out of the box; be prepared to spend time cleaning up the output.
Tracing images by hand
Image tracing, or vectorizing, involves manually recreating the image as vector paths using dedicated software. This is a more time-consuming process than direct conversion, but it gives you far greater control over the final result. Popular software choices for this include Adobe Illustrator, Inkscape (which is free and open-source), and Affinity Designer.
The general process is similar across these programs. First, you import the raster image into the software. Then, you use the tracing tools – in Illustrator, it’s called Image Trace; in Inkscape, it’s Trace Bitmap – to automatically convert the image into vector paths. These tools offer a range of settings that control the level of detail, the number of colors, and the smoothness of the paths.
After the initial trace, the real work begins: cleanup. The automatic tracing process rarely produces a perfect result. You’ll need to manually adjust the paths, remove unwanted shapes, smooth out jagged edges, and refine the colors. Illustrator’s Path Finder tools are particularly useful for this, allowing you to combine, subtract, and intersect shapes. Inkscape offers similar functionality, with its Node Tool providing precise control over individual anchor points.
Here’s a step-by-step guide using Adobe Illustrator: 1. Place your raster image. 2. Select the image and go to Object > Image Trace. 3. Experiment with the presets (High Fidelity Photo, Low Fidelity Photo, 3 Colors, 6 Colors, etc.). 4. Adjust the settings (Threshold, Paths, Corners, Noise) to refine the trace. 5. Expand the trace (Object > Expand). 6. Use the Pathfinder tools to clean up and refine the vector paths. This process demands patience, but it allows you to create a clean, optimized SVG that perfectly matches your vision.
AI-Powered Vectorization Tools
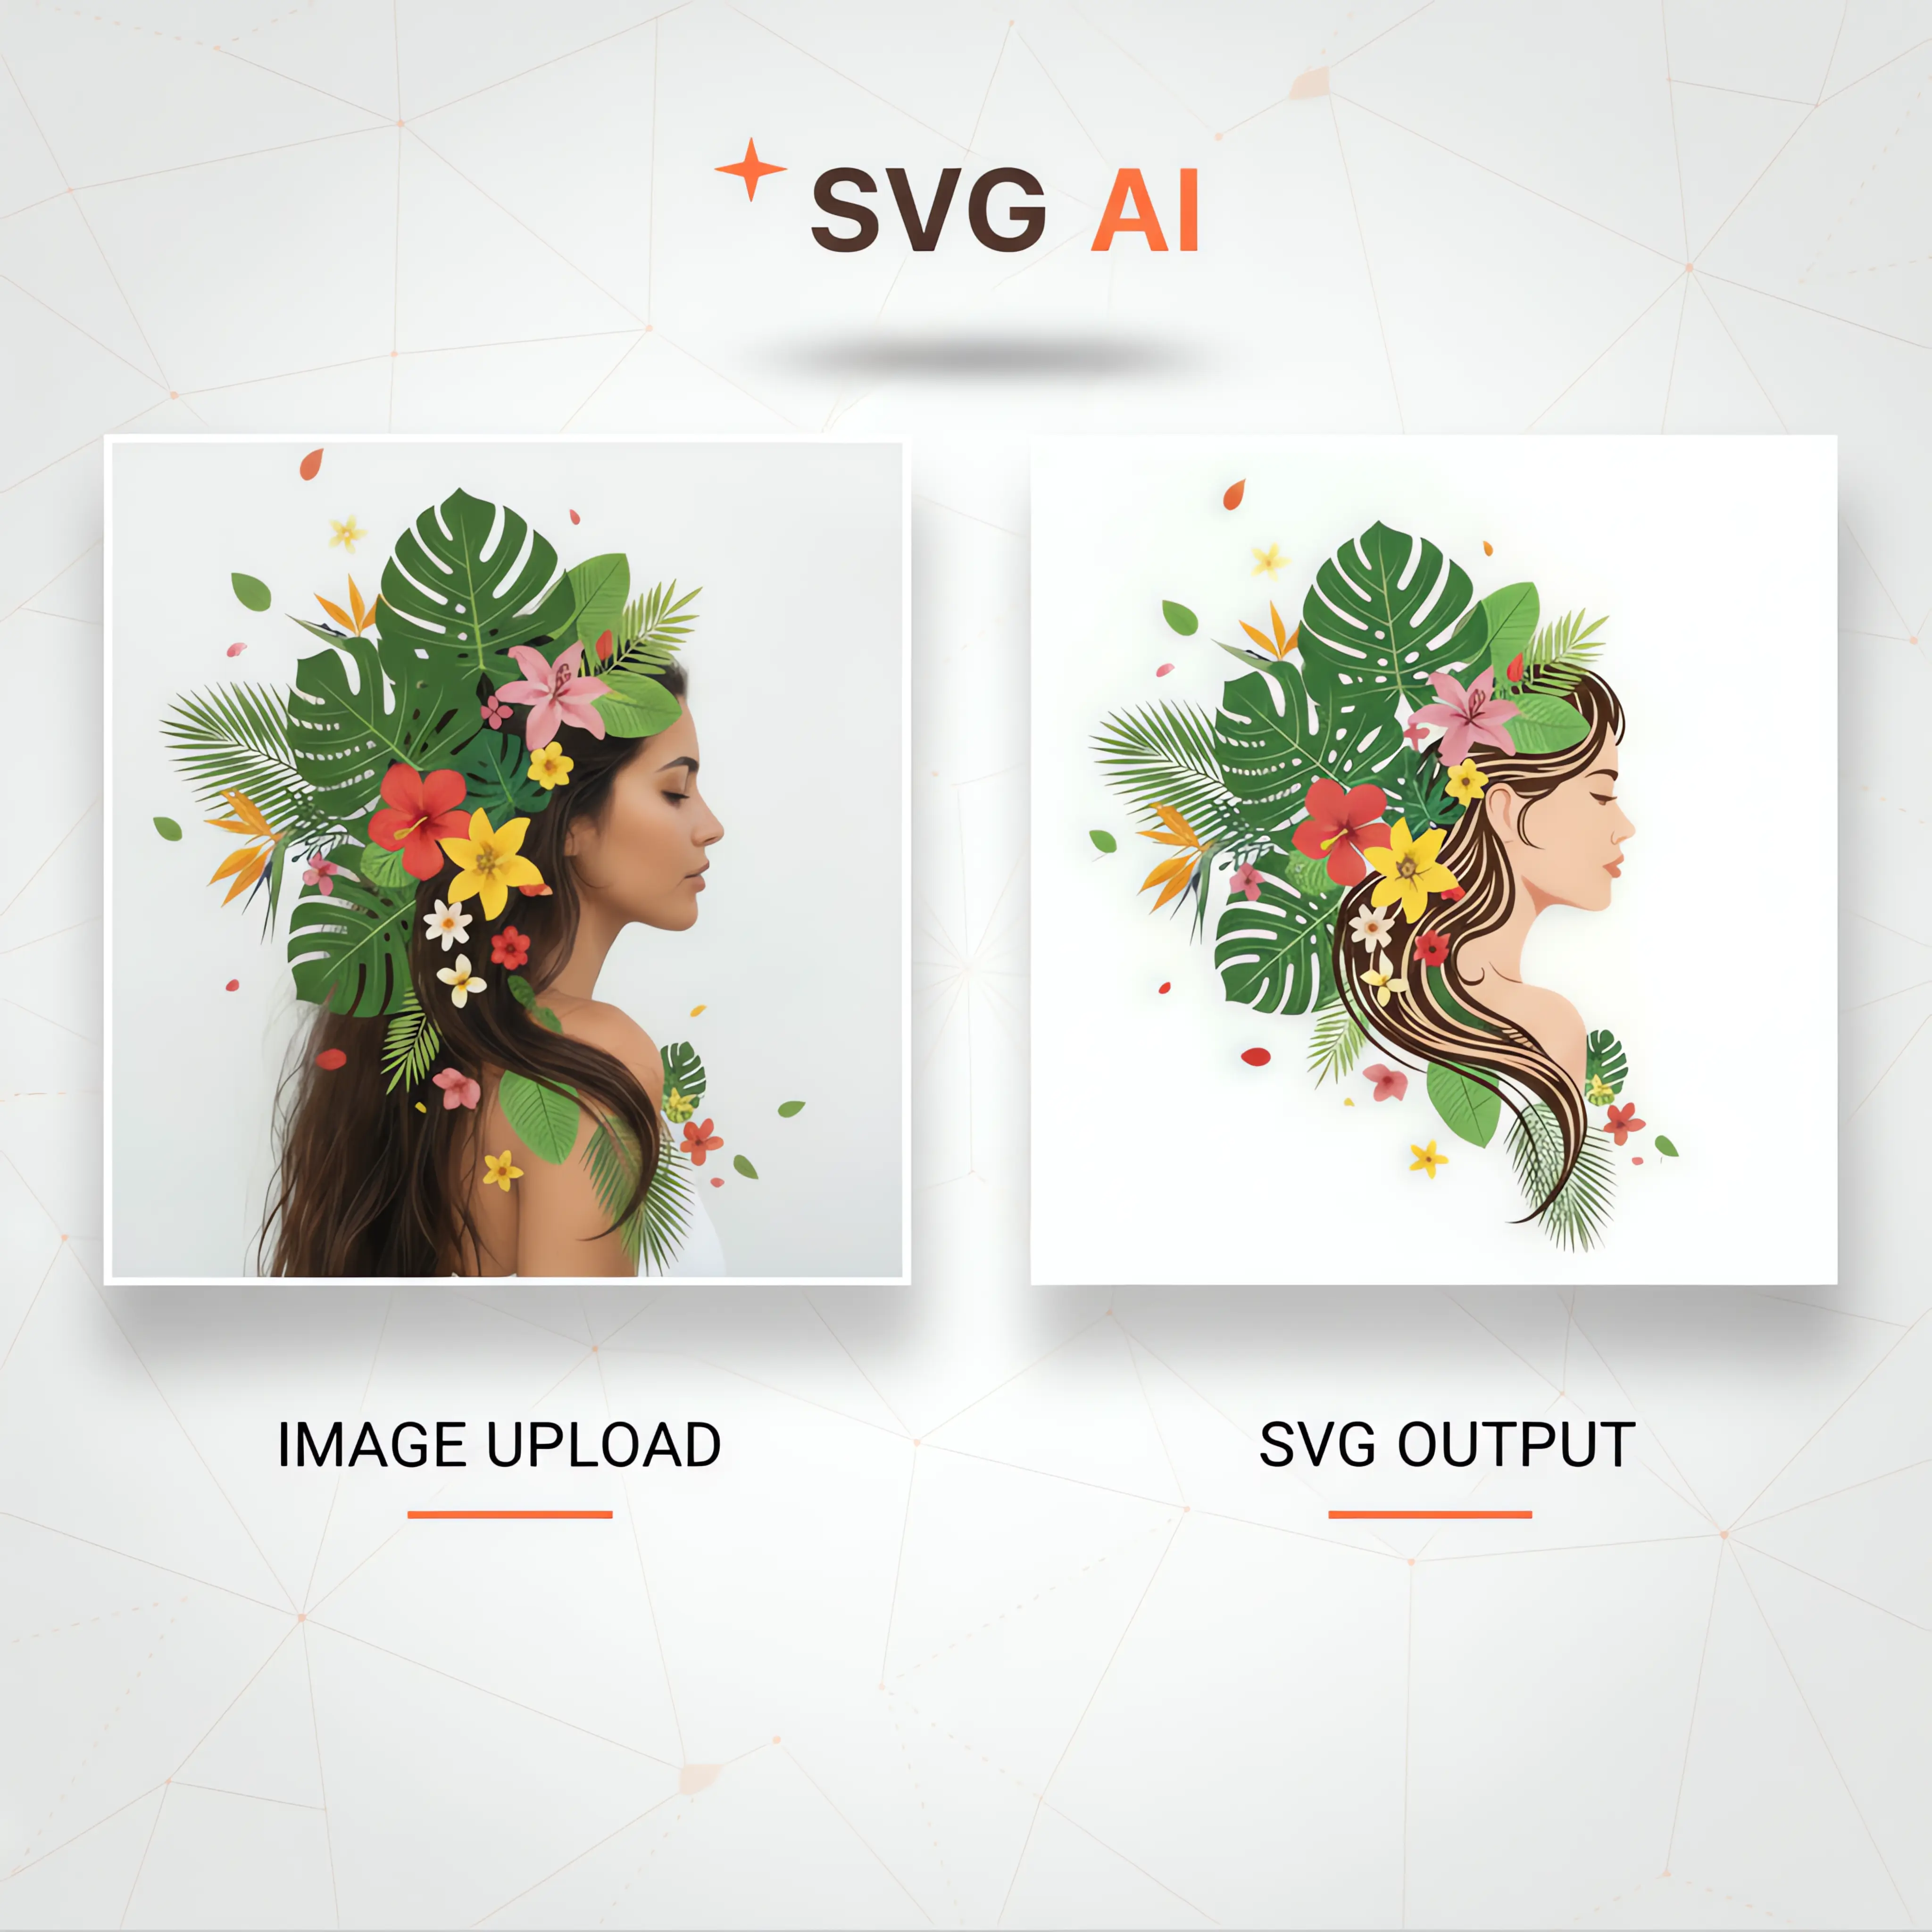
While manual tracing offers the most control, it's also the most time-intensive. This has led to the development of AI-powered vectorization tools designed to automate the process. Vector Magic is a well-known example, though its continued relevance in 2026 will depend on ongoing development. These tools use sophisticated algorithms to analyze the raster image and generate vector paths with minimal user intervention.
The performance of these tools varies depending on the complexity of the image. They generally perform well with simpler designs and illustrations, but struggle with photorealistic images or scenes with intricate details. Compared to manual tracing, AI-powered vectorization tools can significantly speed up the process, but often at the expense of accuracy and control. You may still need to spend time cleaning up the output, but it will likely be less than with a direct conversion.
Cost is another factor to consider. Vector Magic, for example, offers subscription-based pricing. Other emerging AI-powered vectorization software may have different pricing models. It's important to weigh the cost against the time savings and the quality of the results. The quality of the original AI-generated image plays a huge role; a cleaner, more defined raster image will yield a better vectorization.
These tools aren’t perfect replacements for skilled designers, but they can be valuable assets in your workflow. They’re particularly useful for quickly vectorizing large numbers of simple images or for creating initial drafts that can be refined manually. Keep an eye on this space, as AI-powered vectorization is a rapidly evolving field.
Cleaning up files for the web
Once you have your SVG, it’s crucial to optimize it for web use. A poorly optimized SVG can be surprisingly large, negating many of the benefits of using a vector format. Several techniques can help reduce file size without sacrificing visual quality. Removing unnecessary metadata—such as creator information and comments—is a good starting point.
Simplifying paths is another important step. Complex shapes with many anchor points can significantly increase file size. Many vector editing programs offer tools to reduce the number of anchor points while preserving the overall shape. Using efficient coding practices—such as minimizing the number of decimal places used for coordinates—can also help.
SVG optimization tools like SVGO (SVG Optimizer) automate much of this process. SVGO analyzes the SVG code and removes redundant information, simplifies paths, and optimizes the file for performance. It's a command-line tool, but there are also GUI wrappers available. Here’s a checklist for web optimization:
SVG Optimization Checklist: Remove unnecessary metadata. Simplify paths. Use efficient coding practices. Compress the SVG file (e.g., using Gzip). * Consider using SVG sprites for multiple icons.
- Strip out creator metadata and editor comments
- Simplify paths.
- Use efficient coding practices.
- Compress the SVG file (e.g., using Gzip).
- Consider using SVG sprites for multiple icons.
Software Choices: A Quick Comparison
Choosing the right software for converting and editing AI-generated images to SVG depends on your needs and budget. Here’s a quick comparison of some popular options:
| Software | Tracing Capabilities | Path Editing Tools | Optimization Options | Cost | |-------------------|----------------------|--------------------|----------------------|---------------| | Adobe Illustrator | Excellent | Excellent | Good | Subscription | | Inkscape | Good | Good | Basic | Free | | Affinity Designer | Good | Excellent | Good | One-time Purchase | | Online Converters | Basic | Limited | Limited | Free/Subscription |
Adobe Illustrator is the industry standard, offering the most comprehensive set of tools for tracing, editing, and optimizing SVGs. However, it requires a subscription. Inkscape is a powerful free alternative, but its interface can be less intuitive. Affinity Designer strikes a balance between features and affordability, with a one-time purchase price. Online converters are the easiest to use, but they offer the least control and often produce lower-quality results. For this specific use case – converting AI images – Illustrator and Affinity Designer offer the best combination of control and features.
Software Comparison: Converting AI-Generated Images to SVG
| Software | Price (USD) | Ease of Use (1-5, 5 is easiest) | Image Tracing Quality (1-5, 5 is best) | Path Editing Capabilities (1-5, 5 is most advanced) | SVG Optimization Tools |
|---|---|---|---|---|---|
| Adobe Illustrator | Subscription based | 3 | 4 | 5 | Yes |
| Inkscape | Free | 2 | 3 | 4 | Yes |
| Affinity Designer | One-time purchase | 3 | 3 | 4 | Yes |
| Vectornator | Free | 4 | 3 | 3 | Limited |
| CorelDRAW | Subscription or One-time purchase | 3 | 3 | 4 | Yes |
Illustrative comparison based on the article research brief. Verify current pricing, limits, and product details in the official docs before relying on it.

No comments yet. Be the first to share your thoughts!