
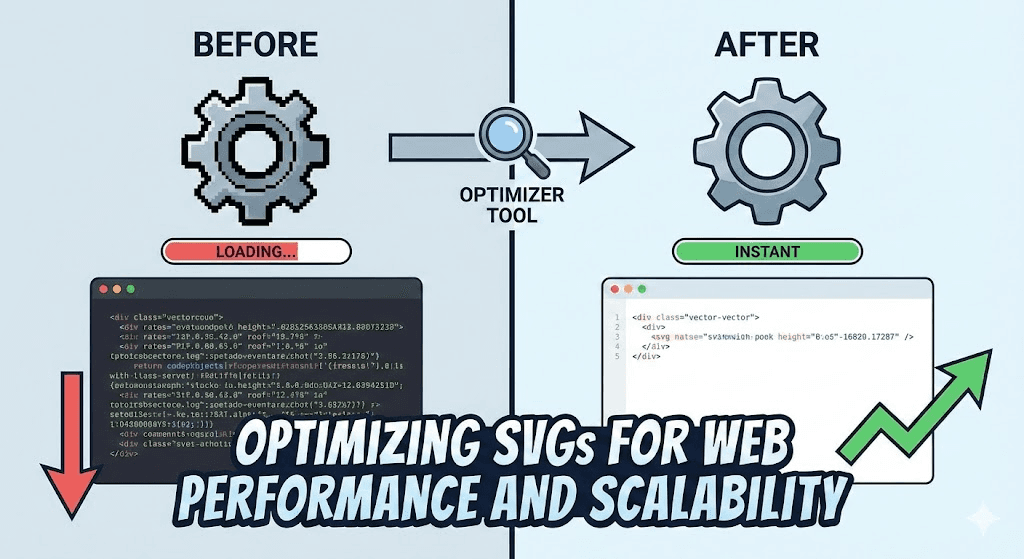
Why SVG files get bloated
So, what makes an SVG file unnecessarily large? It’s rarely a single issue, but a combination of factors. One frequent problem is an excess of points defining paths. Imagine drawing a smooth curve – you could use ten points, or you could use a hundred. The more points, the larger the file, and the more processing power needed to render it. Similarly, overly precise number formatting – too many decimal places defining the shape – adds weight without improving visual quality.
Unused metadata is another common offender. SVGs often contain creator information, descriptions, and other data that aren’t visible on the page. While useful for organization, this metadata adds to the file size. Embedded raster images within SVGs are a particularly egregious issue. An SVG should be vector-based, but sometimes people include bitmap images inside, negating the benefits of vector graphics. This is a big no-no.
Finally, verbose code – unnecessary grouping, redundant attributes, and poor formatting – contributes to bloat. Think of it like writing a document with lots of extra spaces and unnecessary words. It’s still readable, but it’s less efficient. It’s easy to fall into these habits, especially when creating SVGs in design tools that aren’t focused on code optimization.
Using SVGO for automation
Enter SVGO – a Node.js tool specifically designed for optimizing SVG files. It’s become an industry standard, and for good reason. SVGO doesn't just strip out metadata; it intelligently simplifies paths, removes unnecessary elements, and optimizes color palettes. It achieves this through a series of configurable plugins, each targeting a specific optimization technique.
Plugins in SVGO clean up whitespace, merge styles, and strip hidden elements. You can also round decimal precision to shave off bytes without changing how the image looks. The project is open source and available on GitHub at github.com/svg/svgo.
You can use SVGO from the command line, or integrate it into your build process as a Node.js package. While the command-line interface might seem daunting at first, it offers the most control. For example, you can run `svgo your-image.svg your-image-optimized.svg` to optimize a file. It's a powerful tool that can dramatically reduce SVG file sizes and improve your website’s performance.
- Remove doctype
- Remove XML instructions
- Remove comments
- Remove metadata
- strip xmlns attributes when inlining
- Remove editor data
Beyond SVGO: Online Tools and Integrations
SVGO is fantastic, but it requires some technical expertise. Fortunately, several online tools provide a user-friendly interface for SVG optimization. NiceSVG is a great option, offering a simple drag-and-drop interface and automated optimization. SVGOMG (powered by SVGO) is another popular choice, providing a visual interface to control the SVGO plugins. Both are excellent options for those who prefer not to use the command line.
For developers, integrating SVG optimization into your build process is the most efficient approach. Tools like Webpack and Gulp have plugins that can automatically run SVGO during development. This ensures that all your SVGs are optimized before they’re deployed to production. While configuring these integrations can require some initial effort, the long-term benefits are significant.
The key is to find a workflow that suits your skill level and project requirements. Whether you prefer a simple online tool or a fully automated build process, there are plenty of options available to help you optimize your SVGs.
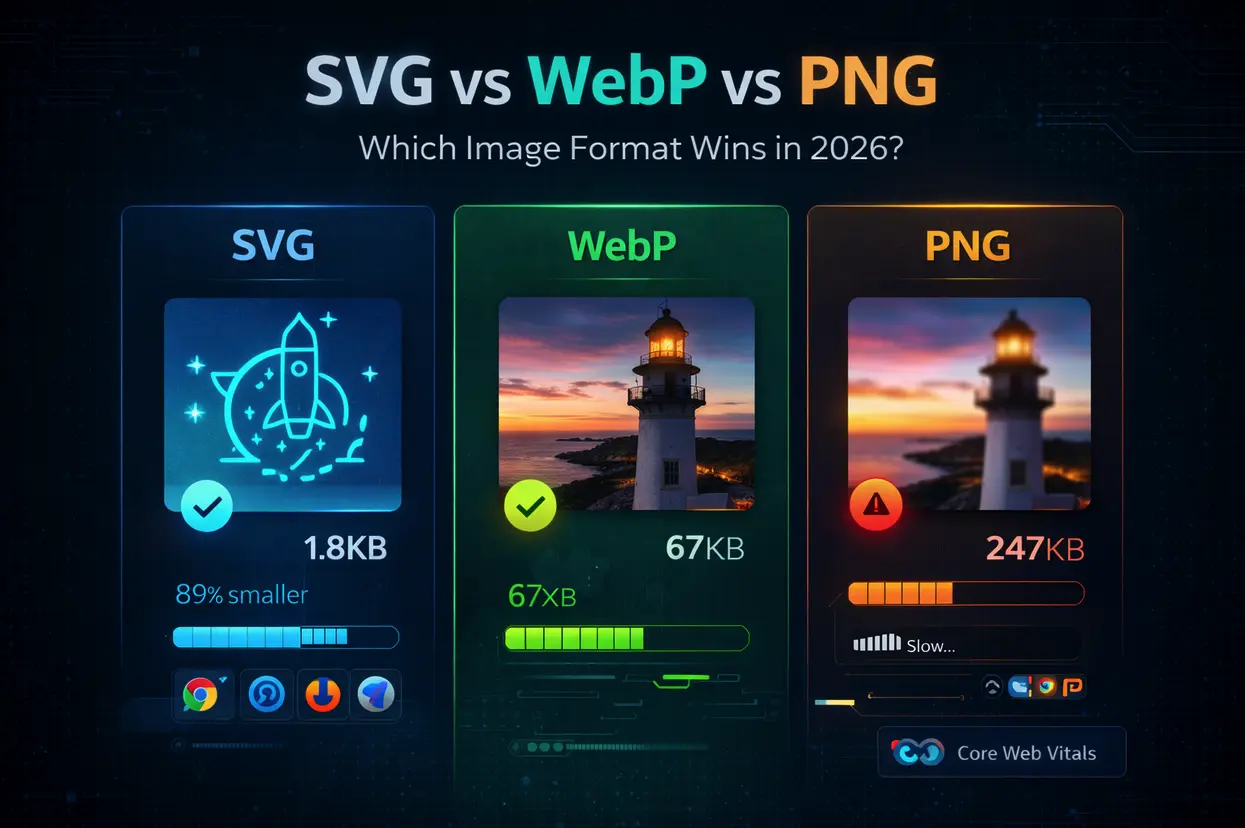
SVG Optimization with SVGO for Core Web Vitals
SVGO (SVG Optimizer) is a powerful Node.js tool that significantly reduces SVG file sizes by removing unnecessary metadata, comments, and redundant code. This optimization directly impacts Core Web Vitals metrics, particularly Largest Contentful Paint (LCP) and Cumulative Layout Shift (CLS), by reducing file transfer times and eliminating render-blocking elements.
// Command-line optimization using SVGO
// Basic file optimization
svgo input.svg -o output.svg

// Node.js implementation for batch processing
const SVGO = require('svgo');
const fs = require('fs');
const path = require('path');

// Initialize SVGO with web performance optimizations
const svgo = new SVGO({
  plugins: [
    'removeDoctype',
    'removeXMLProcInst',
    'removeComments',
    'removeMetadata',
    'removeUselessDefs',
    'removeEditorsNSData',
    'removeEmptyAttrs',
    'removeHiddenElems',
    'removeEmptyText',
    'removeEmptyContainers',
    'minifyStyles',
    'convertStyleToAttrs'
  ]
});

// Function to optimize SVG for web performance
async function optimizeSVGForWeb(inputPath, outputPath) {
  try {
    const svgString = fs.readFileSync(inputPath, 'utf8');
    const result = await svgo.optimize(svgString, { path: inputPath });

    // Write optimized SVG
    fs.writeFileSync(outputPath, result.data);

    // Calculate size reduction
    const originalSize = Buffer.byteLength(svgString, 'utf8');
    const optimizedSize = Buffer.byteLength(result.data, 'utf8');
    const reduction = ((originalSize - optimizedSize) / originalSize * 100).toFixed(2);

    console.log(`Optimized: ${path.basename(inputPath)}`);
    console.log(`Size reduction: ${reduction}%`);

    return result.data;
  } catch (error) {
    console.error('Optimization failed:', error.message);
  }
}

// Batch process multiple SVG files
const inputDir = './svg-files';
const outputDir = './optimized-svg';

fs.readdirSync(inputDir)
  .filter(file => file.endsWith('.svg'))
  .forEach(file => {
    const inputPath = path.join(inputDir, file);
    const outputPath = path.join(outputDir, file);
    optimizeSVGForWeb(inputPath, outputPath);
  });
This implementation removes common bloat from SVG files while preserving visual quality. The size reduction typically ranges from 20-60% depending on the original file's complexity. For production environments, consider implementing this optimization as part of your build process to ensure all SVG assets are automatically optimized before deployment. Monitor the impact on your Core Web Vitals scores using tools like PageSpeed Insights or Chrome DevTools to measure performance improvements.
Balancing optimization and animation
Optimizing animated SVGs presents a unique challenge. Aggressive optimization can sometimes break animations, especially those that rely on precise timing or complex transformations. It's a trade-off: you want to reduce file size, but you also want to maintain a smooth, visually appealing animation.
One technique is to simplify animation paths as much as possible without sacrificing visual quality. Another is to use CSS animations instead of JavaScript where feasible. CSS animations are generally more performant, as they can be hardware-accelerated. However, complex animations may still require JavaScript.
Be honest with yourself about what’s truly necessary. Sometimes, a slightly larger SVG is worth it for a significantly smoother and more engaging animation. Don’t sacrifice user experience for the sake of a few kilobytes. Carefully test your animations after optimization to ensure they still function correctly and look as intended.
Lazy Loading SVGs: When and How
Lazy loading is a powerful technique for improving page speed, and it applies to SVGs as well. The idea is simple: only load SVGs that are currently visible in the viewport. SVGs below the fold – those that require scrolling to see – are loaded only when the user scrolls down. This reduces the initial page load time and improves the user experience.
To implement lazy loading, add the `loading="lazy"` attribute to your image tag. This tells the browser to wait until the user scrolls near the SVG before fetching the file.

No comments yet. Be the first to share your thoughts!